Have you ever reached for your trusty pipe wrench only to find it caked in grime and rust? Keeping your tools clean is essential not just for their longevity, but also for efficiency and safety in every project.
But where do you start? How do you ensure that your pipe wrenches remain in top-notch condition? In this guide, we’re diving into simple yet effective steps to clean your pipe wrenches like a pro. Imagine the satisfaction of working with tools that look and feel brand new.
By the end of this article, you’ll have all the tips and tricks you need to maintain your pipe wrenches effortlessly. Ready to give your tools the care they deserve? Let’s get started!
Tools And Materials Needed
Gather basic cleaning supplies like a soft cloth, mild detergent, and a small brush. Ensure you have warm water and a bucket to rinse and soak the pipe wrench effectively. A lubricating oil can also be beneficial for maintaining the tool’s functionality after cleaning.
Cleaning a pipe wrench ensures its longevity and performance. Before starting, gather the right tools and materials. Having everything ready streamlines the process. This reduces interruptions and ensures thorough cleaning. Below is a list of essential tools and materials. Each plays a crucial role in cleaning your pipe wrench effectively.1. Cleaning Cloths
Soft cleaning cloths are essential. Use them to wipe away grime and dirt. They prevent scratches on the wrench’s surface. Always keep a few on hand.2. Soft Bristle Brush
A soft bristle brush helps remove stubborn dirt. It reaches into the wrench’s crevices. This ensures a thorough cleaning. Choose a brush that fits comfortably in your hand.3. Mild Detergent
Mild detergent cleans without causing damage. Mix it with water to create a gentle solution. This helps break down grease and grime. Ensure it’s safe for metal surfaces.4. Lubricating Oil
Lubricating oil keeps the wrench moving smoothly. Apply after cleaning to prevent rust. It maintains the wrench’s functionality. Use a few drops on moving parts.5. Bucket Of Water
A bucket of water is necessary for rinsing. It helps remove detergent and loosened dirt. Use clean water to avoid residue. Change the water if it becomes too dirty.6. Old Toothbrush
An old toothbrush is perfect for small areas. It cleans tight spots and intricate parts. Its bristles are gentle yet effective. Keep one reserved for this task.7. Protective Gloves
Protective gloves keep your hands safe. They protect against harsh detergents and sharp edges. Choose gloves that fit well. They should allow easy movement. These tools and materials will prepare you for the task. Each item serves a specific purpose. Together, they ensure your pipe wrench is clean and ready for use.Initial Inspection
Before cleaning pipe wrenches, check for rust and dirt buildup. Wipe away grime using a clean, damp cloth. Inspect all moving parts to ensure they function smoothly.
Cleaning pipe wrenches isn’t just about maintaining their shine—it’s about ensuring their functionality and longevity. The initial inspection is a crucial step in this process. By examining your tool closely, you can identify areas that need attention and prevent future issues.Examine For Visible Dirt And Grime
Start by looking at the wrench under good lighting. Notice any visible dirt, grime, or rust. These are the areas you’ll need to focus on during the cleaning process.Check For Rust And Corrosion
Rust can significantly damage your tool over time. Inspect the wrench for any signs of rust or corrosion. If you spot any, you’ll need to address it quickly to prevent further deterioration.Inspect The Jaws For Wear
The jaws of the wrench are key for its grip. Check them for wear and tear. If they appear worn out, the wrench might not function effectively.Look For Oil And Grease Build-up
Oil and grease are common on pipe wrenches. While they help with lubrication, too much can attract dirt. Identify any areas where oil or grease has accumulated.Assess The Adjustment Mechanism
The adjustment mechanism should move smoothly. Test it by adjusting the wrench to different sizes. If it sticks or feels loose, it might need cleaning or lubrication.Consider Your Safety
Safety should be your priority. Ensure there are no sharp edges or broken parts that could cause injury during cleaning. If you find any, it’s time to decide whether to repair or replace the tool. Engage with your tools like a detective searching for clues. What stories do your wrenches tell? Each scratch and stain can reveal a history of use and care—or neglect. By making this initial inspection a habit, you can extend the life of your tools and ensure they’re always ready for the next job.Disassembly Process
Cleaning pipe wrenches effectively starts with taking them apart. Disassembly ensures thorough cleaning. Each part gets attention. This process might seem complex but is simple with guidance. Follow these steps for a successful disassembly.
Removing The Jaw
Begin by locating the jaw. It’s the gripping part of the wrench. Use a screwdriver to loosen the screw holding it. Turn the screw counterclockwise. Gently pull the jaw away from the handle. Place the jaw in a safe spot. Avoid losing small parts. The jaw is now ready for cleaning.
Separating The Handle
Next, focus on the handle. Check for pins or screws connecting it. Use pliers or a wrench to remove them. Turn carefully to avoid damage. Once loose, slide the handle apart. Ensure all components are accounted for. This step completes the disassembly. Your wrench is now ready for a deep clean.
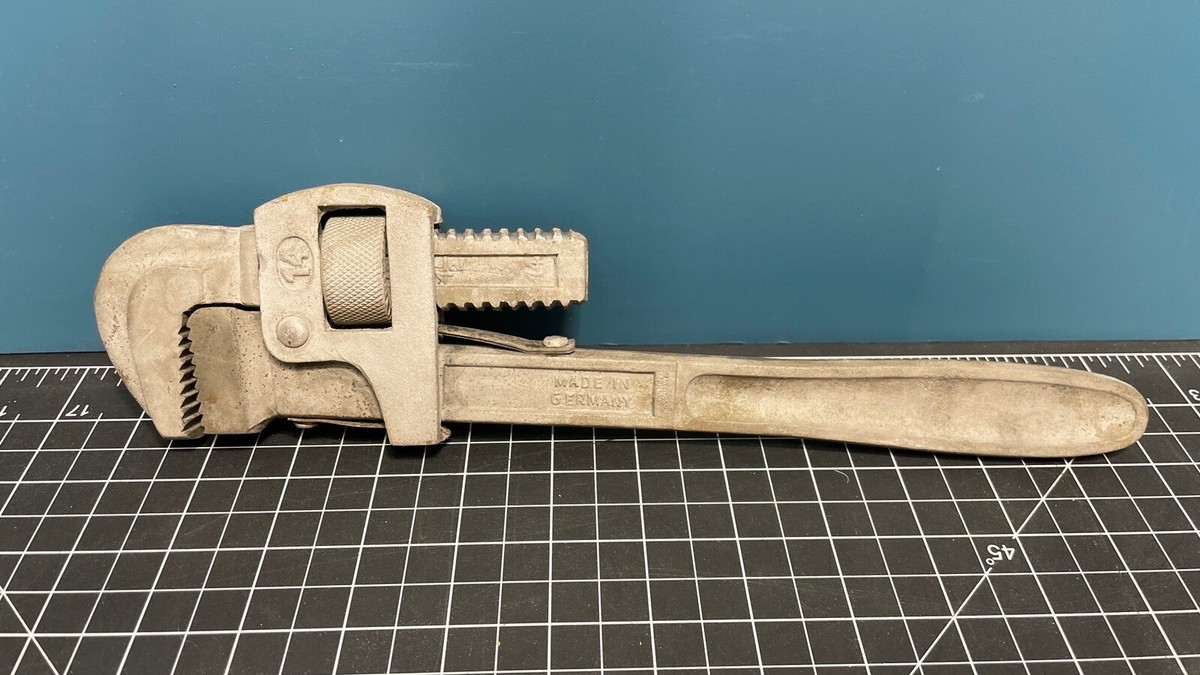
Credit: www.ebay.com
Cleaning Techniques
Cleaning pipe wrenches is essential for maintaining their effectiveness. Proper techniques ensure longevity and reliable performance. This guide covers easy methods to clean your pipe wrenches using soap, water, and degreasers. These techniques are simple and effective, allowing even non-native English speakers to understand and apply them. Let’s dive into the details.
Using Soap And Water
Start with a bowl of warm water and mild soap. Dip the wrench into the solution. Use a brush to scrub off dirt and grime. Make sure to reach into all crevices. Rinse the wrench thoroughly with clean water. Dry it with a soft cloth to prevent rust. This method is gentle yet effective for regular cleaning.
Applying Degreaser
Degreaser is perfect for tackling stubborn grease. Apply the degreaser directly on the wrench. Let it sit for a few minutes. Use a brush to scrub away grease. Wipe the wrench with a clean cloth. Ensure all degreaser residue is removed. This technique is great for deep cleaning. It leaves your wrench ready for the next job.
Rust Removal Methods
Cleaning pipe wrenches involves simple rust removal techniques. Soak the tool in vinegar to dissolve rust. Scrub gently with a brush to remove remaining debris. Dry thoroughly to prevent future rusting.
Rust can damage pipe wrenches. It can reduce their efficiency. Removing rust helps maintain their condition. Here are simple methods to remove rust from your pipe wrenches. You can use items found at home. Let’s explore these effective techniques.Using Vinegar
Vinegar is a natural rust remover. It is affordable and easy to find. Pour vinegar into a container. Submerge the wrench completely. Leave it in the vinegar overnight. This allows the vinegar to dissolve the rust. After soaking, scrub the wrench with a brush. The rust should come off easily. Rinse the wrench with water. Dry it with a clean cloth. This prevents new rust from forming.Applying Baking Soda
Baking soda is another great option. It is gentle but effective. Make a paste with baking soda and water. The paste should be thick. Apply it to the rusty areas. Let it sit for a few hours. This will loosen the rust. Use a brush to scrub the area. Baking soda will help lift the rust away. Rinse the wrench thoroughly. Dry it to stop rust from returning.Drying And Reassembly
Drying and reassembly play a crucial role in maintaining pipe wrenches. Proper drying prevents rust and ensures longevity. Reassembly guarantees that the wrench works efficiently. Let’s explore effective techniques for drying and reassembly.
Proper Drying Methods
After cleaning, ensure the wrench is thoroughly dry. Use a clean cloth to wipe every part. Pay special attention to hidden areas. Moisture in these areas can lead to rust. For hard-to-reach spots, a small brush can help. Pressurized air is useful for removing water from joints. Make sure no moisture remains before proceeding.
Reassembling Components
Reassembling is straightforward if done carefully. Begin with the main components. Align them as they were before disassembly. Use a manual to avoid mistakes. Tighten bolts and screws securely. Loose parts can affect performance. Check all moving parts. Ensure they move smoothly and freely. This confirms correct assembly. A well-assembled wrench works efficiently and lasts longer.
Maintenance Tips
Keeping your pipe wrenches in top condition ensures a longer lifespan. Regular maintenance prevents rust and enhances performance. This guide covers essential tips for maintaining your wrenches.
Regular Cleaning Routine
Wipe the wrenches after each use with a clean cloth. Remove dirt and grease. Use a soft brush for stubborn grime. For deeper cleaning, use warm soapy water. Dry thoroughly to prevent rust.
Oil the wrench joints regularly. This keeps them moving smoothly. Choose a light machine oil for best results. Apply a small amount and work it into the joints.
Proper Storage Practices
Store wrenches in a dry, cool place. Avoid damp areas to prevent rust. Use a tool rack or drawer for organization. This prevents damage and keeps them easy to find.
Consider using silica gel packs. They absorb moisture in storage areas. This adds an extra layer of protection. Keep your tools in top shape with these simple tips.
Credit: extoltools.com

Credit: www.youtube.com
Frequently Asked Questions
How To Clean Dirty Wrenches?
To clean dirty wrenches, scrub them with a wire brush and soapy water. Rinse thoroughly and dry with a cloth. Apply lubricant to prevent rust. Store in a dry place to maintain cleanliness. Regular maintenance ensures wrenches stay in good condition for longer.
How To Rust Off A Plumber Wrench?
Remove rust from a plumber wrench using white vinegar. Soak the wrench for several hours. Scrub with a steel brush. Rinse and dry thoroughly to prevent further rusting. Apply a light oil coating to protect the metal. Store in a dry place to avoid moisture exposure.
How Do You Take Care Of A Pipe Wrench?
Clean the pipe wrench after each use to remove debris. Regularly oil its moving parts to prevent rust. Store it in a dry place to avoid moisture damage. Inspect for wear and tear and replace worn parts. Tighten any loose components to ensure optimal function.
How To Free Up A Rusted Crescent Wrench?
Apply penetrating oil to the rusted areas. Let it sit for a few minutes. Use a wire brush to scrub away rust. Move the wrench back and forth to loosen. Repeat if necessary for stubborn rust. Always wear protective gloves and eyewear for safety.
Conclusion
Cleaning pipe wrenches is simple and effective. Regular care keeps them in good condition. Start by gathering your tools and materials. Use mild soap and water for cleaning. Scrub gently to remove dirt and grime. Dry your wrench completely to prevent rust.
Apply a light oil coat for lubrication. Store in a dry place after cleaning. This routine ensures your wrench lasts longer. It remains efficient for your tasks. Clean tools work better and are safer to use. Keep your wrenches clean and ready.
Happy wrenching!


