
Are your trailer lights not working as they should? It’s a frustrating problem that can lead to safety issues and even fines.
But don’t worry—testing trailer lights doesn’t have to be a daunting task. With a simple tool like a multimeter, you can quickly identify and fix the issue yourself. Imagine the relief of knowing your trailer lights are functioning perfectly, ensuring your safety on the road.
In this guide, you’ll learn how to test trailer lights with a multimeter, step by step, so you can get back to your adventures with confidence. Get ready to take control and solve the problem with ease!
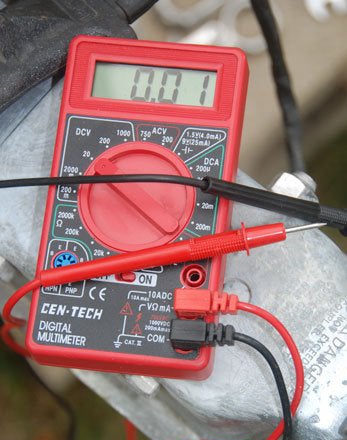
Credit: www.truckspring.com
Essential Tools And Equipment
Testing trailer lights with a multimeter ensures safety on the road. Connect the multimeter to the light terminals. Check for continuity and voltage levels to identify any issues.
Testing trailer lights with a multimeter might seem daunting at first, but with the right tools and equipment, it becomes a straightforward task. Whether you’re a seasoned DIY enthusiast or just someone who’s curious about trailer maintenance, having the right gear can make all the difference. Let’s dive into the essentials you need to get the job done efficiently and safely.Multimeter Basics
A multimeter is the star of the show when testing trailer lights. It’s a versatile device that measures voltage, current, and resistance. When I first used a multimeter, I was amazed at how it could quickly diagnose issues that would otherwise be a mystery. Ensure your multimeter has a clear digital display. This makes it easier to read measurements, especially if you’re working in low-light conditions. A multimeter with a continuity tester is also handy, as it allows you to check if there’s a complete path for current flow in the wiring.Safety Gear
Safety should never be an afterthought. While testing trailer lights, you’re dealing with electricity, albeit low voltage, which can still be dangerous. I always keep a pair of insulated gloves in my toolkit. They provide an extra layer of protection and peace of mind. Eye protection is another essential. You never know when a spark might fly or if a connection might go awry. Safety glasses are a small investment with big benefits. Also, make sure your work area is well-lit and free from clutter to avoid accidents. Having the right tools and safety gear doesn’t just make the job easier—it makes it safer and more enjoyable. Are you ready to take on this task with confidence?Preparing For The Test
Testing trailer lights with a multimeter ensures they function correctly for safe towing. Begin by setting the multimeter to measure voltage. Connect the probes to the trailer’s wiring, checking each light for consistent readings.
Preparing your trailer for a lighting test is crucial to ensure safe travels. Before jumping into the actual testing, taking a few preparatory steps can save you time and frustration. You don’t want to be halfway through a test only to realize a simple oversight is causing confusion. So, let’s get ready to make this process smooth and effective.Disconnecting The Trailer
Start by disconnecting the trailer from your vehicle. This ensures that any readings from your multimeter are solely from the trailer’s wiring and not influenced by the vehicle’s electrical system. This step avoids potential misdiagnoses that could lead to fixing the wrong problem. Imagine realizing halfway through your road trip that your trailer lights were never the issue!Inspecting The Wiring
Once disconnected, inspect the wiring visually. Look for any obvious signs of wear and tear, such as frayed wires or loose connections. It’s surprising how often a simple visual check can reveal the root of your lighting issues. Have you ever noticed how often the small things, like a loose connection, can be the main culprit? Check the grounding wire specifically. A faulty ground can cause erratic behavior in your trailer lights. Ensuring all wires are secure and intact sets a solid foundation for an accurate test. Have you ever skipped this step only to find out later that a mere visual inspection could have saved you hours?By preparing adequately, you make the testing process efficient and precise. Are you ready to dive into using the multimeter, confident that your trailer is set for a thorough check?
Setting Up The Multimeter
To test trailer lights with a multimeter, first set up the device correctly. Turn the multimeter dial to the appropriate setting for voltage or continuity. Make sure the probes are securely connected to the multimeter before testing the trailer light circuits.
Setting up a multimeter is crucial for testing trailer lights effectively. This tool helps you identify electrical faults and ensure the lights work properly. Proper setup involves selecting the right mode and calibrating the device. These steps ensure accurate readings and save time during testing.Selecting The Right Mode
Choosing the correct mode is essential for testing trailer lights. A multimeter offers different modes like voltage, current, and resistance. For trailer lights, use the voltage mode. This measures the electrical flow to the lights. Ensure your multimeter is set to DC voltage. Most trailer lights operate on direct current. This setting helps detect issues with power supply to the lights.Calibrating The Device
Calibrating the multimeter ensures accurate readings. Start by checking the battery. A low battery may give false readings. Replace it if necessary. Next, connect the test leads to the multimeter. Ensure they are plugged into the correct ports. Red lead goes into the VΩ port. Black lead connects to the COM port. Turn the dial to the voltage setting. Test on a known power source first. This confirms the multimeter is working correctly. Adjust the range if needed to improve accuracy. Calibration helps you trust the readings you get.Testing The Trailer Lights
Testing trailer lights with a multimeter ensures they function properly and safely. Begin by setting the multimeter to the correct voltage. Then, connect it to the trailer light circuit to check for power and continuity. This simple process helps identify wiring issues or faulty bulbs.
Testing trailer lights ensures your vehicle signals work properly. A multimeter helps check the condition of your lights. This tool measures electrical properties. It’s easy to use even for beginners. Testing trailer lights involves checking voltage, continuity, and ground connection.Checking The Voltage
Set the multimeter to measure volts. Connect the black probe to the ground terminal. Touch the red probe to the positive terminal. A reading shows the voltage level. Proper voltage means the lights have power. Low voltage indicates a problem. Check the battery or wiring if voltage is low.Testing For Continuity
Set the multimeter to continuity mode. Continuity tests if electricity flows through the circuit. Place the probes on both ends of the wire. A beep or a reading indicates a complete circuit. No beep means a broken wire. Broken wires need repair. Ensure all wires connect properly.Assessing The Ground Connection
A good ground connection is crucial. Set the multimeter to ohms. Place one probe on the trailer frame. The other probe goes on the ground wire. A low reading means a good connection. High reading suggests a bad ground. Check for rust or loose connections. Fix any grounding issues for safe operation.Troubleshooting Common Issues
Testing trailer lights with a multimeter can feel daunting, but troubleshooting common issues is straightforward when you know what to look for. You don’t need to be an expert electrician to spot faulty bulbs or detect wiring problems; just a little patience and practical know-how will suffice. Whether you’re gearing up for a road trip or just ensuring safety on your next haul, tackling these common issues will keep your trailer lights shining bright.
Identifying Faulty Bulbs
Have you ever been puzzled by a bulb that looks fine but refuses to light up? This is a common issue that many trailer owners face. Start by removing the bulb and inspecting it closely. Look for obvious signs of damage like a broken filament or blackened interior. If everything seems fine, use a multimeter to test for continuity. Set your multimeter to the resistance setting and touch the probes to the bulb’s terminals. A reading of zero indicates a faulty bulb.
Sometimes, bulbs can appear intact, but their connections have corroded over time. Cleaning these terminals with a small brush or sandpaper can solve the problem. Think about the time your trailer lights failed mid-trip; a quick cleaning could have saved you a lot of trouble. Always remember, a bulb that’s well-seated and free of corrosion is your best bet for consistent lighting.
Detecting Wiring Problems
Wiring issues can be tricky, but a multimeter simplifies the task. Start by inspecting the wiring visually. Look for signs of wear like frayed insulation or exposed wires. Use your multimeter to check for continuity along the wire. Set it to the continuity setting and touch the probes at two different points of the wire. A beep indicates a good connection; silence signals a break.
Consider the time you spent frustrated by flickering trailer lights. Often, the culprit is a loose ground connection. Tighten all connections and ensure wires are properly anchored to avoid vibrations that can loosen them over time. Ask yourself: are your wires secure and free of damage? If not, it’s time to act before a minor issue becomes a major headache.
Remember, troubleshooting is about patience and precision. Every test and tweak you make is a step towards ensuring your trailer lights function flawlessly. Next time you hit the road, you’ll have peace of mind knowing your lights are in top shape. Isn’t that worth the effort?
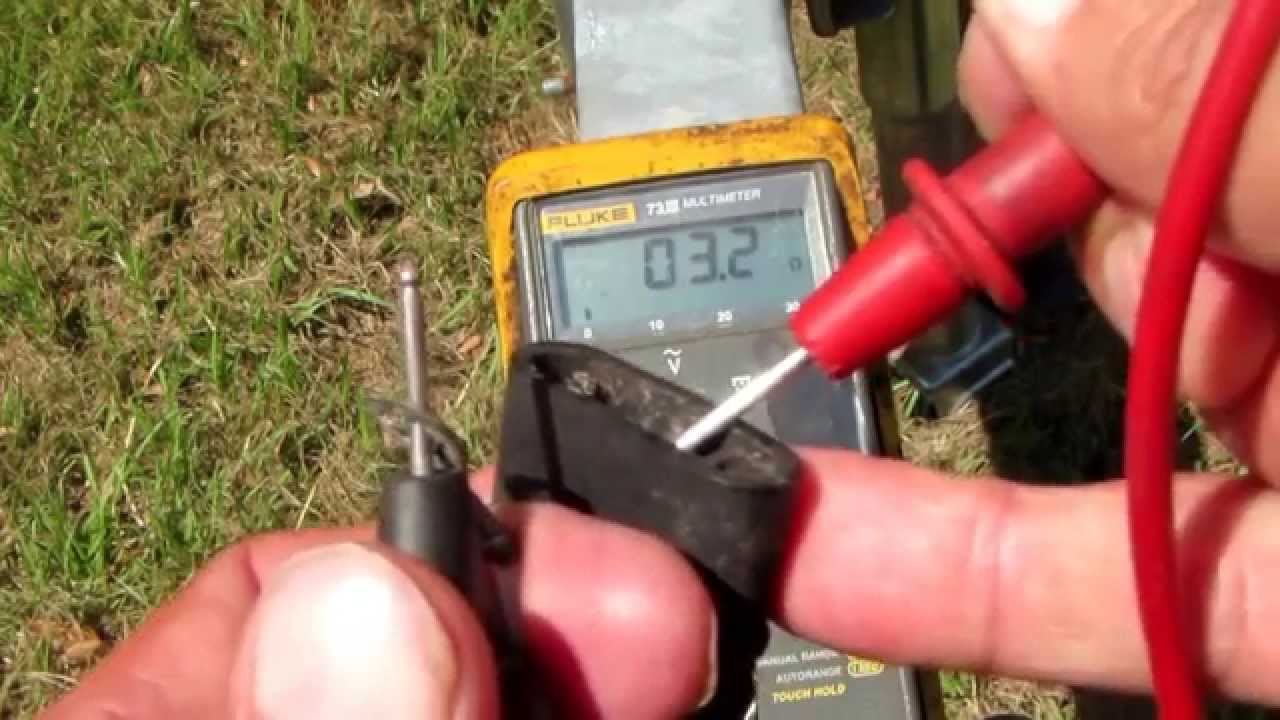
Credit: www.youtube.com
Maintenance Tips
Trailer lights need regular attention to stay in good condition. Testing them with a multimeter ensures they work properly. This helps prevent unexpected problems during your travels. Regular maintenance keeps your trailer safe and ready for the road.
Regular Inspection Routine
Inspect your trailer lights every month. Begin with a visual check for any damage. Look for broken bulbs or frayed wires. Test each light using your multimeter. Ensure the voltage readings match the manufacturer’s specifications.
Check the connections and ensure they are tight. Loose connections can cause lights to flicker or fail. Clean any dirt or corrosion from the connectors. This ensures a good electrical connection.
Preventative Measures
Use dielectric grease on connectors. This prevents corrosion and water damage. Store your trailer in a dry place. Moisture can harm electrical components. Cover your trailer during heavy rain or snow.
Replace worn-out wires immediately. Damaged wires can cause short circuits. Invest in high-quality lights and components. These last longer and perform better. Keep a spare bulb and fuse handy. This ensures quick replacements if needed.

Credit: www.wikihow.com
Frequently Asked Questions
Can You Use A Multimeter To Test Trailer Lights?
Yes, you can use a multimeter to test trailer lights. Set the multimeter to measure voltage or continuity. Connect the probes to the light’s wiring. Check for proper voltage or continuity to ensure functionality. This helps identify electrical issues in trailer lights efficiently.
How Do I Find A Bad Ground On My Trailer Lights?
Check the trailer light connections for corrosion or loose wires. Test each light with a multimeter. Look for inconsistent voltage readings, which indicate a bad ground. Inspect the grounding points, clean them thoroughly, and ensure they are securely attached to the metal frame of the trailer.
How To Test Trailer Lights With?
Use a multimeter or trailer light tester. Connect it to the trailer’s plug. Activate each light function. Check for proper operation. Ensure all connections are secure and free from corrosion. Replace any faulty bulbs or fuses. Regular testing ensures safety and compliance on the road.
How To Diagnose Bad Trailer Lights?
Check for blown fuses or damaged wiring. Inspect bulb connections and replace faulty bulbs. Verify power supply and ground connections. Use a multimeter to test circuits. Ensure proper installation and alignment of lights.
Conclusion
Testing trailer lights with a multimeter is simple. Ensure safe driving by checking lights regularly. A multimeter helps find electrical issues fast. Follow steps carefully and stay patient. Start by inspecting connections and wires. Measure voltage and continuity for accurate results.
Troubleshoot any problems you discover. Proper testing prevents unexpected failures on the road. Now, you’re ready to confidently test trailer lights. Regular checks keep your trailer safe and reliable. Remember, practice makes perfect. Stay prepared and enjoy smooth travels.


