Are you ready to unlock the magic of woodworking with precision and flair? A wood router could be your new best friend in the workshop, transforming ordinary projects into extraordinary masterpieces.
Whether you’re an aspiring carpenter or a seasoned DIY enthusiast, learning how to use a wood router can elevate your craftsmanship to new heights. Imagine effortlessly creating intricate designs, smooth edges, and perfect joints. The thrill of turning raw wood into beautiful creations is within your grasp.
This guide will walk you through everything you need to know, breaking down each step with clarity and simplicity. Prepare to discover the secrets of this powerful tool and unleash your creative potential like never before. Are you curious to learn how? Let’s dive in!
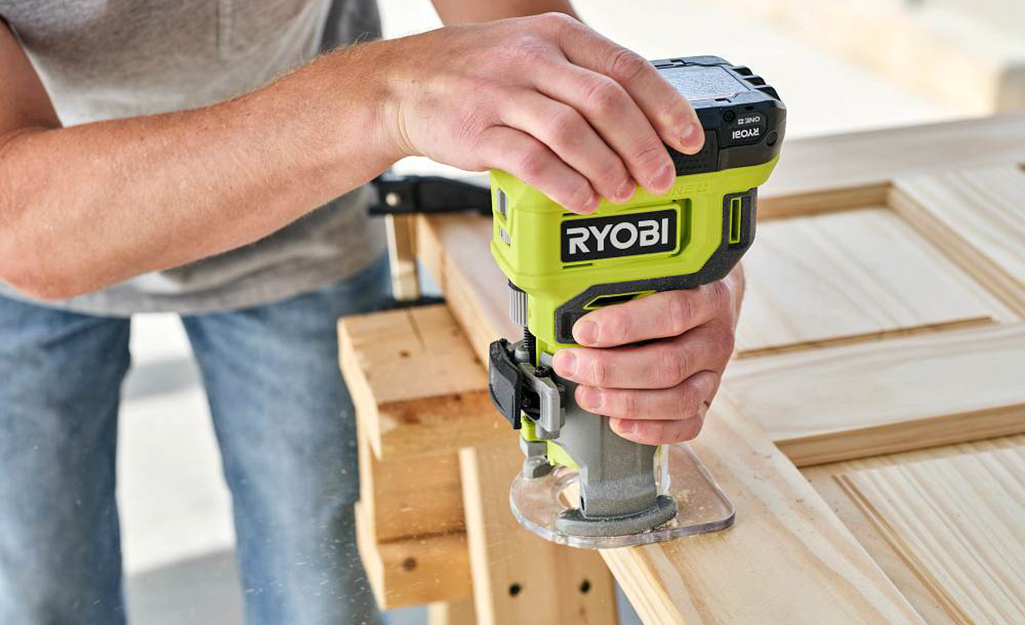
Choosing The Right Router
Selecting the ideal router involves understanding its use in woodworking. Wood routers shape edges, cut grooves, and hollow areas with precision. Choose a router with adjustable speed for better control and versatility.
Choosing the right wood router can be a game-changer for your woodworking projects. It’s not just about picking a tool; it’s about matching the right features with your specific needs. As you dive into the world of routers, you might find yourself overwhelmed by the choices. But don’t worry—by understanding the types and features available, you can make a choice that enhances your workbench arsenal.Types Of Wood Routers
Wood routers come in various types, each suited for different tasks. Fixed-base routers are great for beginners and offer precision in edge work. They’re typically lighter and easier to control, making them ideal for simple grooves and edge shaping. Plunge routers allow you to start the cut in the middle of a workpiece. This feature is essential for creating intricate patterns and deep grooves. They’re perfect if your projects often require plunging into the wood. Combo routers offer the best of both worlds. With interchangeable bases, they provide flexibility for various tasks. If you’re looking for versatility without buying multiple tools, this might be your best bet.Features To Consider
When selecting a wood router, several features can impact your decision. Variable speed control is crucial for handling different materials and bit sizes. Adjusting the speed helps prevent burns and provides a smoother finish. Consider the power of the router. Higher horsepower models can handle tougher woods and larger bits effortlessly. Yet, for smaller, more delicate tasks, a less powerful router might offer more control. Ergonomics play a significant role in how comfortable you’ll be using the router for extended periods. Look for models with rubberized grips and balanced weight distribution. A comfortable tool can significantly improve your precision and reduce fatigue. Lastly, think about dust collection capabilities. Keeping your workspace clean not only extends the life of your tools but also enhances visibility and accuracy. Some routers come with built-in dust collection ports that can be connected to a vacuum. Choosing the right wood router isn’t just about the specs; it’s about how those specs align with your projects. What features are non-negotiable for you? Is it the power, the flexibility, or the ease of use? Reflecting on these questions can lead you to a tool that not only meets but exceeds your expectations.
Credit: www.youtube.com
Essential Router Accessories
Enhance wood router use with essential accessories. Dust collection systems keep your workspace clean and organized. Edge guides ensure precise cutting for professional results.
When diving into woodworking with a wood router, having the right accessories can significantly enhance your projects. Essential router accessories are not just add-ons; they are tools that can transform your routing experience, making it more efficient and precise. Whether you’re a hobbyist or a seasoned woodworker, these accessories can help you achieve professional results. Let’s delve into some key accessories that will elevate your woodworking game.Router Bits
Router bits are the heart and soul of your wood router. They come in various shapes and sizes, each designed for a specific purpose. A straight bit is perfect for making straight cuts, grooves, and dados, while a round-over bit can give edges a smooth, rounded finish. Investing in a quality set of router bits can expand your creative possibilities. Consider starting with a basic set that includes the most commonly used bits. As you grow more confident, you can add specialty bits like dovetail or chamfer bits to your collection. Remember to keep your bits sharp. Dull bits not only compromise the quality of your work but also increase the risk of accidents. Regular maintenance will ensure smooth and clean cuts every time.Guide Bushings
Guide bushings are essential for precision work. They help you follow templates and patterns with ease. This accessory can turn complex designs into manageable projects by guiding your router along a predetermined path. When selecting guide bushings, ensure they fit your router base. Compatibility is crucial to maintain accuracy. A mismatched bushing can lead to uneven edges or misaligned cuts, which can be frustrating. Having a set of guide bushings in various sizes will give you flexibility in your projects. They are particularly useful when creating intricate patterns or repetitive designs.Router Tables
A router table can be a game-changer in your workshop. It provides stability and control, allowing you to work on larger pieces with ease. Imagine trying to route a large panel without a table—it’s cumbersome and risky. When choosing a router table, consider the size of your workspace. A compact table might be suitable for small workshops, while a larger one is ideal for expansive spaces. Features like adjustable fences and dust collection ports can further enhance your experience. My first router table transformed how I approached woodworking. It allowed me to work faster and with more precision, boosting my confidence in tackling complex projects. A router table is not just a tool; it’s an investment in your craftsmanship. Are you ready to expand your woodworking horizons? With the right accessories, your wood router can become a versatile powerhouse. Whether it’s creating intricate designs with guide bushings or achieving seamless edges with router bits, these tools are essential. What will you create next with your enhanced setup?Preparing Your Workspace
Creating a safe and organized workspace is crucial for using a wood router effectively. Ensure your area is clean, free of clutter, and well-lit. Arrange essential tools and safety gear within easy reach to enhance efficiency and minimize risks during operation.
Preparing your workspace is a crucial step before using a wood router. A well-organized and safe area not only enhances efficiency but also ensures your safety. Imagine walking into a clutter-free space, knowing exactly where everything is. This peace of mind allows you to focus on the craftsmanship of your project. As you embark on your woodworking journey, consider how a thoughtfully arranged workspace can make all the difference. Ready to transform your space into a haven of productivity? Let’s dive into the essentials of workspace preparation.Safety Measures
Begin by ensuring your workspace is safe. Always wear safety goggles to protect your eyes from flying debris. Ear protection is equally important since routers can be loud. Think about the floor. Is it free from obstacles that could trip you? Keep cords and tools out of the walking path. This minimizes accidents and lets you move freely. Ventilation matters too. Working with wood releases dust. A well-ventilated area prevents inhalation of harmful particles. Consider using dust collectors or a simple fan to keep the air clean.Organizing Tools And Materials
Start with a clean slate. Clear your workspace of any unnecessary items. A tidy area reduces stress and boosts productivity. Arrange your tools within easy reach. Place clamps, bits, and wrenches in a designated spot. This saves time and keeps your focus on the task at hand. Think of a time you struggled to find a tool mid-project. Frustrating, right? Avoid this by labeling drawers or toolboxes. This simple step ensures you know where everything is. Have a small table for materials. Keep your wood pieces, blueprints, and measuring tools organized. This way, everything you need is at arm’s length. How do you feel when you step into a well-prepared workspace? The sense of readiness is empowering. Taking the time to prepare your area can transform your woodworking experience.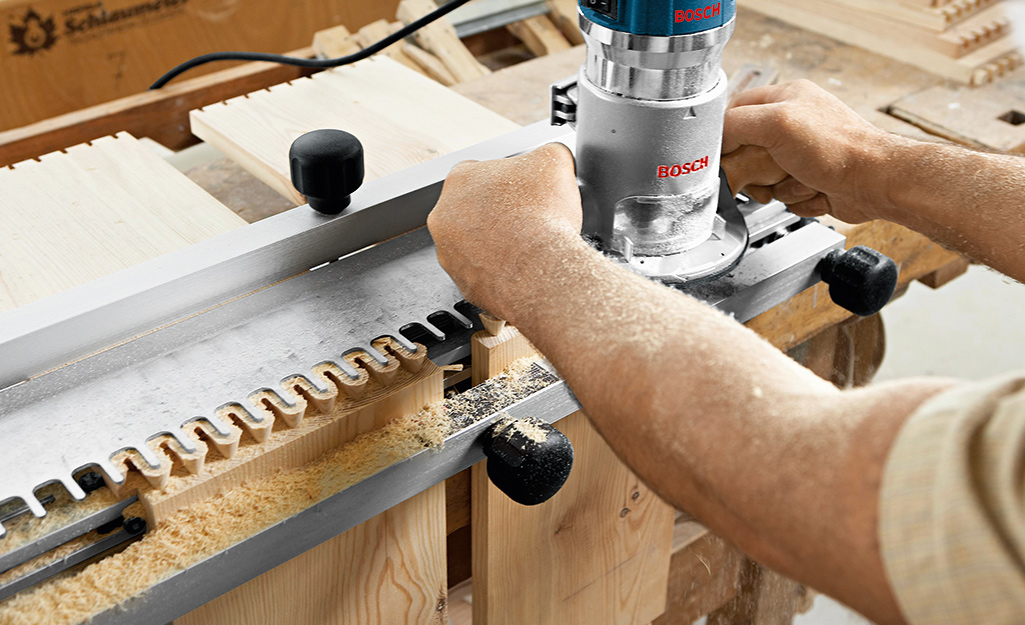
Credit: www.homedepot.com
Basic Router Techniques
Welcome to the world of wood routing, where precision meets creativity. If you’ve ever been curious about how to transform a plain piece of wood into a masterpiece, you’re in the right place. Mastering basic router techniques can elevate your woodworking projects, making them stand out. Whether you’re a seasoned craftsman or a hobbyist, these techniques are essential skills that will help you make the most out of your wood router.
Edge Routing
Edge routing is one of the most common uses for a wood router. It involves shaping the edges of a board to add a decorative profile. To start, ensure your router bit is securely installed and the depth is set correctly. You might want to practice on a scrap piece of wood first.
Imagine creating a smooth, rounded edge on a tabletop. It’s not just about aesthetics; it also makes the piece safer by removing sharp corners. Have you ever run your hand along a beautifully finished edge and appreciated its smoothness? That’s the magic of edge routing.
When edge routing, keep a firm grip on your router. Move it steadily along the edge of the wood. Patience is key here. Rushing could lead to uneven edges or even a ruined piece of wood. So, how can you ensure the best results? Consistent speed and pressure are your best friends.
Grooving And Slotting
Grooving and slotting open up a world of possibilities. They allow you to create channels in wood for joinery or decorative purposes. Picture a clean, precise groove that fits another piece of wood perfectly. That’s the satisfaction of a job well done.
To achieve this, start by selecting the right bit for your router. The bit size should match the width of the groove you want to cut. Secure your workpiece and guide your router along the marked line. Steady hands lead to straight lines. Remember, practice makes perfect.
One tip is to make multiple passes with your router. Start shallow and gradually increase the depth. This reduces the risk of kickback and ensures a cleaner cut. Have you ever thought about the difference a few millimeters can make in the final fit? Precision is key.
By incorporating these basic techniques into your projects, you can transform ordinary pieces of wood into extraordinary works of art. So, are you ready to explore the potential of your wood router? The only limit is your imagination.
Advanced Routing Techniques
Woodworking is a skill that grows with practice. Advanced routing techniques elevate your craft. These methods require precision and patience. They can transform basic projects into detailed masterpieces. Let’s explore some advanced techniques.
Inlay Work
Inlay work adds beauty to wood. It involves embedding different materials. You can use metals, stones, or even other woods. Start by marking your design on the surface. Use the router to carve out the shape. Ensure the depth is consistent. Place the inlay material carefully into the carved space. Sand it down for a smooth finish. Inlay work requires focus and a steady hand.
Joinery Techniques
Joinery connects wood pieces securely. There are several types of joints. Dovetail joints are strong and decorative. Mortise and tenon joints are classic choices. Use your router to create precise cuts. Measure each piece carefully. Align them for a snug fit. Test the joint strength before assembly. Proper joinery ensures durable furniture. Mastering these techniques enhances your craftsmanship.
Troubleshooting Common Issues
Using a wood router can sometimes lead to challenges. Whether it’s tear-out or burn marks, these issues can disrupt your woodworking project. Understanding how to troubleshoot these common problems is essential. It ensures smooth and professional results. Below, we delve into common issues and how to address them effectively.
Handling Tear-out
Tear-out occurs when wood fibers tear instead of being cut cleanly. To minimize tear-out, use sharp router bits. Dull bits can cause more harm than good. Always move the router in the correct direction. For most cuts, this means moving against the rotation of the bit. Also, consider the wood grain direction. Cutting with the grain helps reduce tear-out. Applying painter’s tape over the cut line can also help. It holds the fibers in place, ensuring a clean cut.
Dealing With Burn Marks
Burn marks on wood can be frustrating. They occur due to excessive heat from the router bit. To prevent this, check your router speed. High speeds generate more heat, leading to burns. Slow it down if necessary. Ensure your router bits are clean. Resin or debris can cause friction, resulting in burns. Regular cleaning prevents this issue. Also, keep moving the router steadily. Pausing in one spot can lead to burn marks. Practice smooth and consistent movements for the best results.
Maintenance And Care
Maintaining your wood router is crucial for its longevity and performance. Regular care keeps it running smoothly and ensures safety during use. Neglecting maintenance can lead to dull bits and damaged parts. Follow these steps to keep your router in top shape.
Cleaning Your Router
Dust and debris can clog your router, affecting its performance. After each use, unplug the router and use a brush to clean the motor vents. Wipe down the exterior with a damp cloth. For deeper cleaning, remove the base plate. This allows access to the internal areas for thorough dust removal. Avoid using strong solvents. They can damage plastic parts. Ensure all parts are dry before reassembling. A clean router lasts longer and works efficiently.
Sharpening And Replacing Bits
Sharp bits ensure smooth and accurate cuts. Dull bits strain the router and can damage your workpiece. Check bits regularly for wear. Sharpen bits with a sharpening stone or file. This restores their cutting edge. Some bits cannot be sharpened. Replace them if they are beyond repair. Always use the right bit for your project. Incorrect bits can cause damage or injury. Proper bit maintenance keeps your router in optimal condition.
Safety Tips For Router Use
Ensure safety while using a wood router by wearing protective gear and securing the workpiece firmly. Keep hands clear from the bit and unplug the tool before changing bits.
Using a wood router can be an incredibly rewarding experience, allowing you to create intricate designs and smooth finishes on various wood projects. However, the power and speed of routers demand respect and careful handling to ensure safety. As you embark on your woodworking journey, it’s crucial to familiarize yourself with essential safety tips. This not only protects you but also enhances your efficiency and enjoyment. Below are some key considerations to keep your wood routing endeavors safe and enjoyable.Protective Gear
Wearing the right protective gear is non-negotiable when using a wood router. Safety goggles are a must to shield your eyes from flying debris and dust. You never know when a stray splinter might shoot out unexpectedly. Consider using ear protection such as earplugs or earmuffs, especially if you’re working for extended periods. The noise from a router can be surprisingly loud, potentially damaging your hearing over time. Another essential item is a dust mask. Wood dust is not just messy; it can be harmful to your respiratory system. A dust mask helps prevent inhalation of these particles, keeping your lungs healthy.Safe Operating Practices
Your approach to handling the router should be methodical and cautious. Before you start, inspect the router and the bit for any signs of damage or wear. A cracked bit can be dangerous, causing the router to behave unpredictably. Always ensure your workspace is clean and free from clutter. This reduces the risk of tripping or knocking the router off balance. Maintaining a tidy area helps you focus on your task at hand. Think about your hand placement. Keep your hands away from the cutting edge and ensure you have a firm grip. Consider using push blocks to guide the wood safely. These can be lifesavers, allowing you to maintain control without risking your fingers. Have you ever experienced the panic of a tool slipping from your grasp? This emphasizes the importance of securing your workpiece. Use clamps to hold the wood steady, preventing any chance of it moving unexpectedly. In your experience, what’s the most surprising safety tip you’ve learned while using a wood router? Sharing insights can lead to safer practices for everyone. Engage with these tips and make your woodworking projects safer and more enjoyable.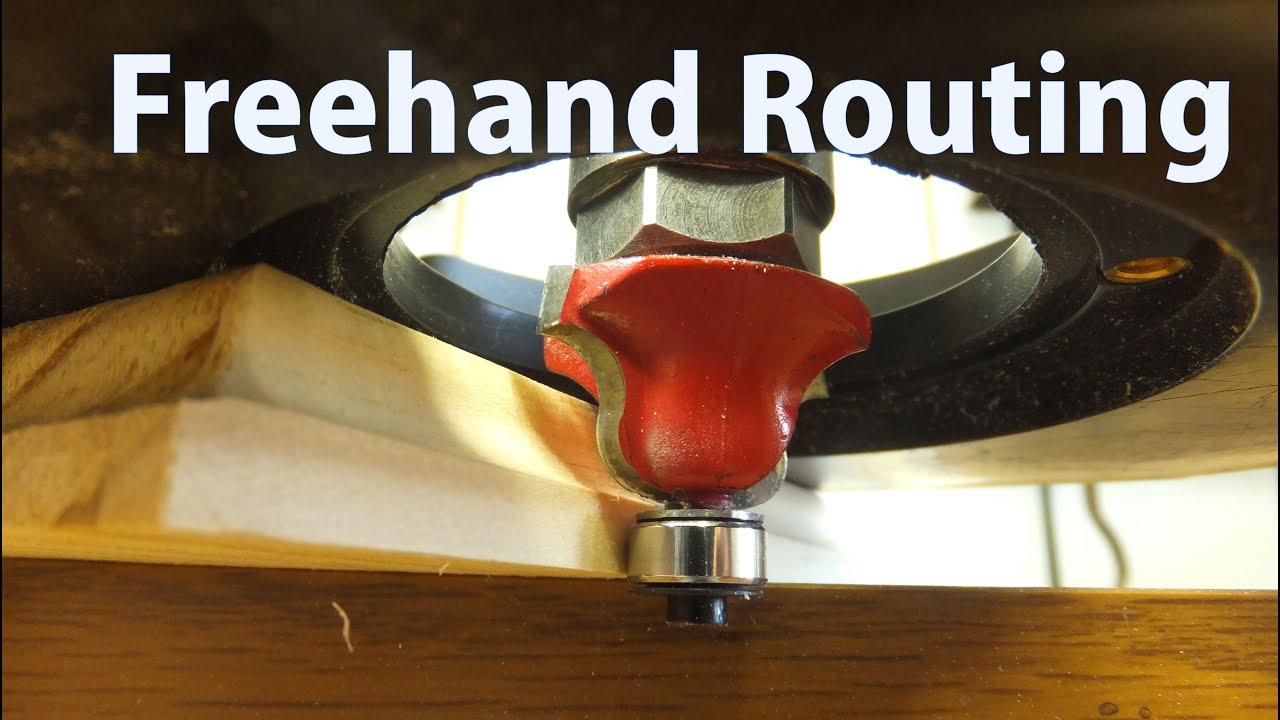
Credit: www.youtube.com
Frequently Asked Questions
How To Use A Router Step By Step For Beginners?
Connect the router to your modem using an Ethernet cable. Plug the router into a power source. Access the router’s settings via a web browser using its IP address. Create a unique Wi-Fi name and password. Save your changes and connect your devices to the new network.
Do You Push Or Pull A Wood Router?
You pull a wood router. Pulling prevents the tool from climbing and offers better control. Always move the router against the cutter’s rotation for optimal results. This approach ensures safety and precision while working with wood.
How To Use A Router Fence For Beginners?
To use a router fence, securely attach it to the router table. Adjust the fence for precise cutting. Position the workpiece against the fence, ensuring stability. Slowly feed the workpiece through the router bit, keeping hands clear. Practice safety, wear protective gear, and double-check settings before starting.
What Not To Do When Using A Router?
Avoid placing the router in enclosed spaces or near metal objects. Don’t use default passwords; update them regularly. Ensure firmware is current to prevent security risks. Refrain from overcrowding the network with too many devices. Avoid using outdated routers that may lack essential features and security updates.
Conclusion
Using a wood router can seem challenging at first. But with practice, it becomes easier. Always prioritize safety by wearing goggles and gloves. Start with simple projects to build confidence. Gradually, you’ll get better and create amazing woodwork. Make sure your router bits are sharp and clean.
This ensures smooth cuts and extends tool life. Regular maintenance is key. Finally, enjoy the process. Creativity thrives when you’re having fun. With patience, your skills will grow. Soon, you’ll be crafting like a pro. Keep learning, keep experimenting. Your wood router is a tool for endless possibilities.


