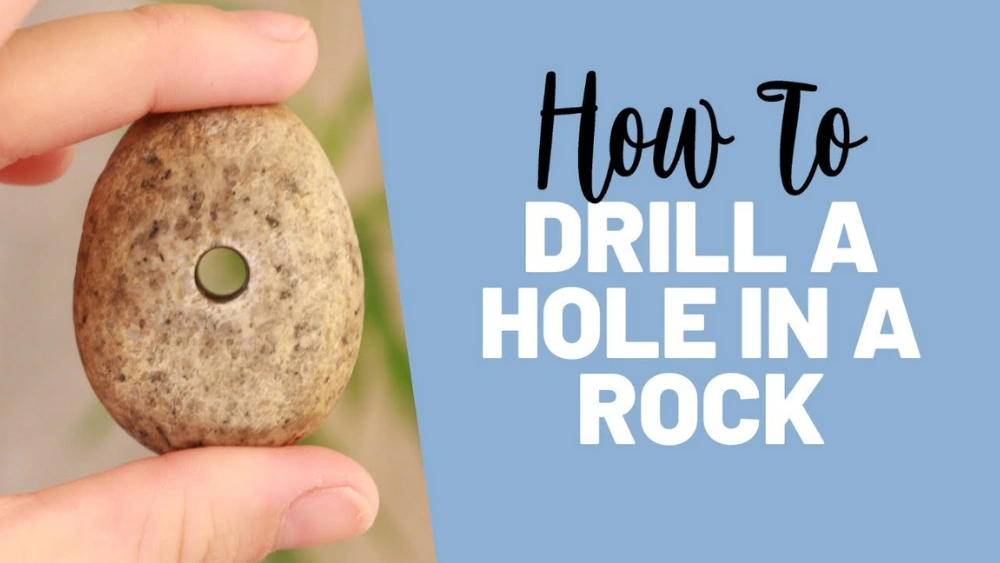
Have you ever found yourself wondering how to drill a hole in a rock? Maybe you’re looking to create a stunning piece of jewelry, mount something on a stone surface, or embark on a unique DIY project.
Whatever your reason, you’re in the right place. Drilling into rock might seem like a daunting task, but with the right tools and techniques, it’s entirely achievable. Imagine the satisfaction of successfully piercing through a solid rock, accomplishing something that at first seemed impossible.
In this guide, you’ll discover the step-by-step process that will make you feel like a rock drilling pro. Let’s turn that curiosity into action and get started on your project today!

Credit: www.youtube.com
Essential Tools
Drilling a hole in a rock requires specific tools. A rotary hammer and carbide drill bit are essential for precision. Ensure steady hands and proper technique for best results.
Drilling a hole in a rock might seem daunting, but with the right tools, it becomes a straightforward task. Whether you’re an avid DIY enthusiast or just need to hang a garden ornament, knowing what equipment you need is essential. Let’s dive into the tools you’ll need to get the job done efficiently and safely.Drill Types
Selecting the right drill is the first step. A rotary hammer drill is often the go-to for rock drilling. It’s powerful and designed to handle tough surfaces like stone. Alternatively, a hammer drill can also work for smaller or softer rock types. I once tried using a regular drill on a granite piece, and let’s just say, it didn’t end well. Choose wisely to save time and effort.Drill Bits
The type of drill bit you choose is crucial. Masonry bits are your best friend here. They’re designed to handle hard surfaces like rock. Make sure you select the correct size for the hole you want to create. I remember using a mismatched bit, and it made the task much harder. Always double-check the bit size before you start.Safety Gear
Safety should never be an afterthought. Drilling into rock can be hazardous without the right protection. Safety goggles protect your eyes from flying debris. Ear protection is crucial too, as drills can be noisy. I once ignored this, and my ears rang for days. Gloves will protect your hands from sharp edges and vibrations. It’s easy to overlook safety gear, but do you really want to risk it? Drilling into rock can be both an art and a science. But with the right tools and safety measures, you can achieve precision and safety in your project.Selecting The Right Rock
Drilling a hole in a rock requires careful selection. The right rock ensures successful drilling. Consider rock types, hardness, and natural features. These aspects determine how easy drilling will be.
Rock Types
Different rocks have unique properties. Granite is tough and dense. Limestone is softer and easier to drill. Sandstone offers moderate hardness. Each type affects drilling speed and effort.
Assessing Hardness
Hardness is crucial for drilling. Hard rocks demand powerful tools. Softer rocks need less force. Use a hardness scale to check your rock. A simple scratch test can help. Hard rocks resist scratches more.
Identifying Natural Features
Natural features impact drilling. Look for cracks and veins. They make drilling easier. Avoid rocks with too many fractures. They can break apart during drilling. Smooth surfaces are ideal.
Preparing The Rock
Drilling a hole in a rock requires patience and the right tools. Start by marking the spot with a pencil. Use a masonry drill bit attached to a power drill for precise drilling. Apply steady pressure while drilling, allowing the bit to penetrate slowly.
Keep the drill cool with water to prevent overheating.
Drilling a hole in a rock might sound like a daunting task, but with the right preparation, it can be straightforward and rewarding. Before you can start drilling, it’s crucial to prepare the rock properly. This step ensures the process is smooth and prevents damage to your tools and the rock itself. Let’s walk through the essential steps in preparing your rock for drilling.Cleaning The Surface
First things first, cleanliness is key. Dust and debris can interfere with the drilling process. Clean the rock’s surface thoroughly using a brush or rag. A clean surface offers better visibility and grip for your tools. Think about it: would you paint on a dirty canvas?Marking The Drill Spot
Precision matters. Use a pencil or chalk to mark the exact spot where you want to drill. Consider using a ruler or tape measure for accuracy. Have you ever started a project only to realize you’re a few inches off? Don’t let that happen here.Securing The Rock
Safety is paramount. Secure the rock firmly using a clamp or vice. This step prevents the rock from moving while drilling. Imagine trying to drill into a moving target—frustrating, right? Ensuring the rock is stable will save you from potential mishaps. Preparing a rock for drilling might seem like basic stuff, but remember that meticulous preparation can make or break your project. So, what’s your next rock drilling adventure?Drilling Techniques
Drilling a hole in a rock requires patience and the right method. The process depends on the tools and the rock type. Two main techniques are available: using a hand drill and using a power drill. Understanding these methods is crucial for success.
Using A Hand Drill
A hand drill is a simple tool. It works with manual force. Select a sturdy hand drill for rock tasks. Position the drill bit on the rock. Apply gentle pressure. Twist the drill consistently. Be patient. This method suits small holes and soft rocks. Harder rocks need more effort.
Using A Power Drill
A power drill makes the task easier. Choose a power drill with a hammer function. This feature helps with hard rocks. Use carbide-tipped bits for durability. Secure the rock. Hold the drill firmly. Start at a low speed. Increase speed gradually. Keep the drill steady. Avoid too much force. This prevents damage.
Managing Drill Speed
Drill speed is vital for effective drilling. Low speed is safer for beginners. It reduces mistakes. High speed suits experienced users. It speeds up the process. Adjust speed according to rock hardness. Soft rocks need slower speeds. Hard rocks require faster speeds. Control speed for clean holes. Practice enhances skill.
Safety Precautions
Drilling a hole in a rock requires careful safety precautions. Always wear protective goggles and gloves to guard against flying debris. Secure the rock firmly in place before starting to drill. Use a stable surface to prevent slipping. Keep the drill bit cool with water to avoid overheating.
Drilling a hole in a rock might seem like a straightforward task, but safety should be your top priority. Rocks are dense and tough, and the tools used to work with them can be dangerous if not handled properly. Ignoring safety precautions can lead to serious injuries or damage. By focusing on handling tools carefully, protecting yourself, and maintaining a clean workspace, you ensure not only your safety but also the success of your project.Handling Tools Carefully
Using the right tools is crucial when drilling into rock. Always check your tools before starting. Make sure they are in good condition and suitable for the task. A dull drill bit can slip and cause injury, while a faulty drill might suddenly stop or break. Take your time when setting up. Rushing only increases risk. If you’ve ever hurried through a project, you know how easily things can go wrong. Precision and patience help prevent accidents.Protecting Yourself
Your safety gear is your best friend. Wear protective goggles to shield your eyes from flying debris. It’s not just about avoiding discomfort—it’s about preventing serious injuries. Gloves can provide extra grip and protect your hands from sharp edges. Think about your hearing too. Rocks can be noisy when drilled. Consider using ear protection to avoid long-term damage. It’s a small step that makes a big difference.Maintaining A Clean Workspace
A cluttered workspace invites accidents. Keep your area tidy and organized. This reduces the risk of tripping or knocking over tools. Have you ever misplaced a tool because of a messy work area? It’s frustrating and wastes time. By keeping everything in its place, you work efficiently and safely. Consider the environment around you. Ensure adequate lighting so you can see clearly. This is not just about comfort—it’s about being able to spot potential hazards. Safety isn’t just a step—it’s a mindset. How can you incorporate these precautions into other areas of your DIY projects? Keeping safety front and center ensures not only your well-being but also the quality of your work.Troubleshooting Common Issues
Drilling a hole in a rock can be challenging. Start by choosing the right drill bit for the rock type. Ensure the drill is powerful enough and keep it steady while drilling to prevent breakage.
Drilling a hole in a rock might seem straightforward, but unexpected issues can arise, turning a simple task into a frustrating experience. Before you start, it’s essential to know how to troubleshoot common problems. These issues can range from a stuck drill bit to uneven holes, and understanding them can save you time and effort.Drill Bit Getting Stuck
A stuck drill bit can halt your progress instantly. This often happens when the bit overheats or when there’s too much debris in the hole. Solution: Keep the drill bit cool by applying water or oil. Pause frequently to clean out dust and small rock pieces. If your bit is already stuck, gently reverse the drill to see if it loosens.Rock Cracking
Rock cracking can ruin your project and can occur if too much pressure is applied. Use a steady, gentle force rather than pushing hard. Consider the type of rock you’re working with; softer rocks require less force. If you notice small cracks forming, stop and reassess your technique. Adjust your drill speed and pressure accordingly.Uneven Holes
Uneven holes can make it difficult to secure fixtures or create a smooth finish. This often results from improper alignment or a dull drill bit. Solution: Begin by marking the exact spot and angle where you want to drill. Use a guide to maintain alignment. Regularly check the sharpness of your drill bit; a dull one will wander and create uneven holes. Have you ever been halfway through a project and realized something was off? Understanding these troubleshooting tips can help you avoid that pitfall. Next time you pick up the drill, remember these insights for a smoother experience. What’s your biggest challenge when working with rocks?Post-drilling Care
Proper post-drilling care is crucial for maintaining rock stability. Clean the drilled hole to remove debris. Ensure the area is dry to prevent future damage.
Drilling a hole in a rock can be a satisfying achievement, but what happens next is just as important. The post-drilling care ensures that your work remains effective and your tools stay in good condition. Taking the time to clean up, inspect the hole, and maintain your tools will not only improve the longevity of your equipment but also ensure the quality of your work. Let’s break down the essential steps you should follow after drilling a hole in a rock.Cleaning Up
After drilling, you’ll likely find rock dust and debris scattered around. Don’t leave it to chance. Use a brush or a small vacuum to remove loose particles from the hole and surrounding area. This prevents dust from settling back into the hole, which could affect the fit of any anchors or inserts you plan to use. Consider the environment too. If you’re working outdoors, ensure no debris is left to harm the natural surroundings. Indoors, keep your workspace clean to avoid inhaling dust or creating a messy area. Have you thought about how clean surroundings can improve your focus for future projects?Inspecting The Hole
Once the area is clean, take a close look at the hole you’ve drilled. Is it the right size and depth? Check for any cracks or imperfections in the rock that might affect the integrity of your installation. A flashlight can help illuminate the hole, making it easier to spot any issues. Think about the purpose of your drilling. If the hole needs to support weight, ensuring it is perfectly drilled is crucial. Have you ever had a project fail because you skipped this step?Maintaining Tools
Your tools are your most valuable allies. After drilling, clean and inspect them carefully. Remove any dust or residue that might have accumulated during the process. This not only extends the life of your tools but also ensures they perform efficiently the next time you need them. Check for wear and tear. Are the drill bits still sharp? Is the drill functioning smoothly? Regular maintenance can prevent unexpected breakdowns in the middle of a project. How much time and money could you save by taking care of your tools now, rather than replacing them later? By focusing on post-drilling care, you set yourself up for success in future projects. Your attention to detail now will pay off in the quality and durability of your work. Have you established a post-drilling routine that you can rely on?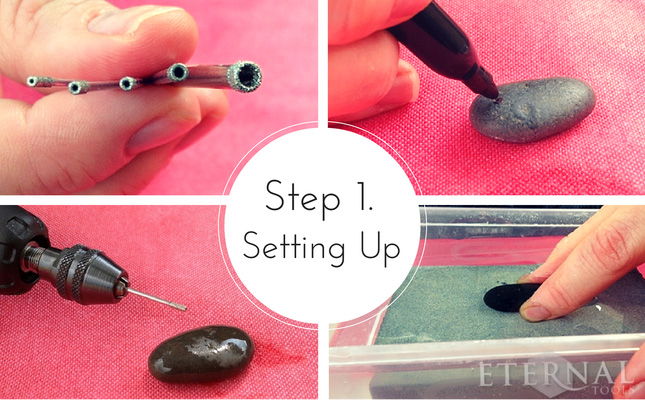
Credit: eternaltools.com
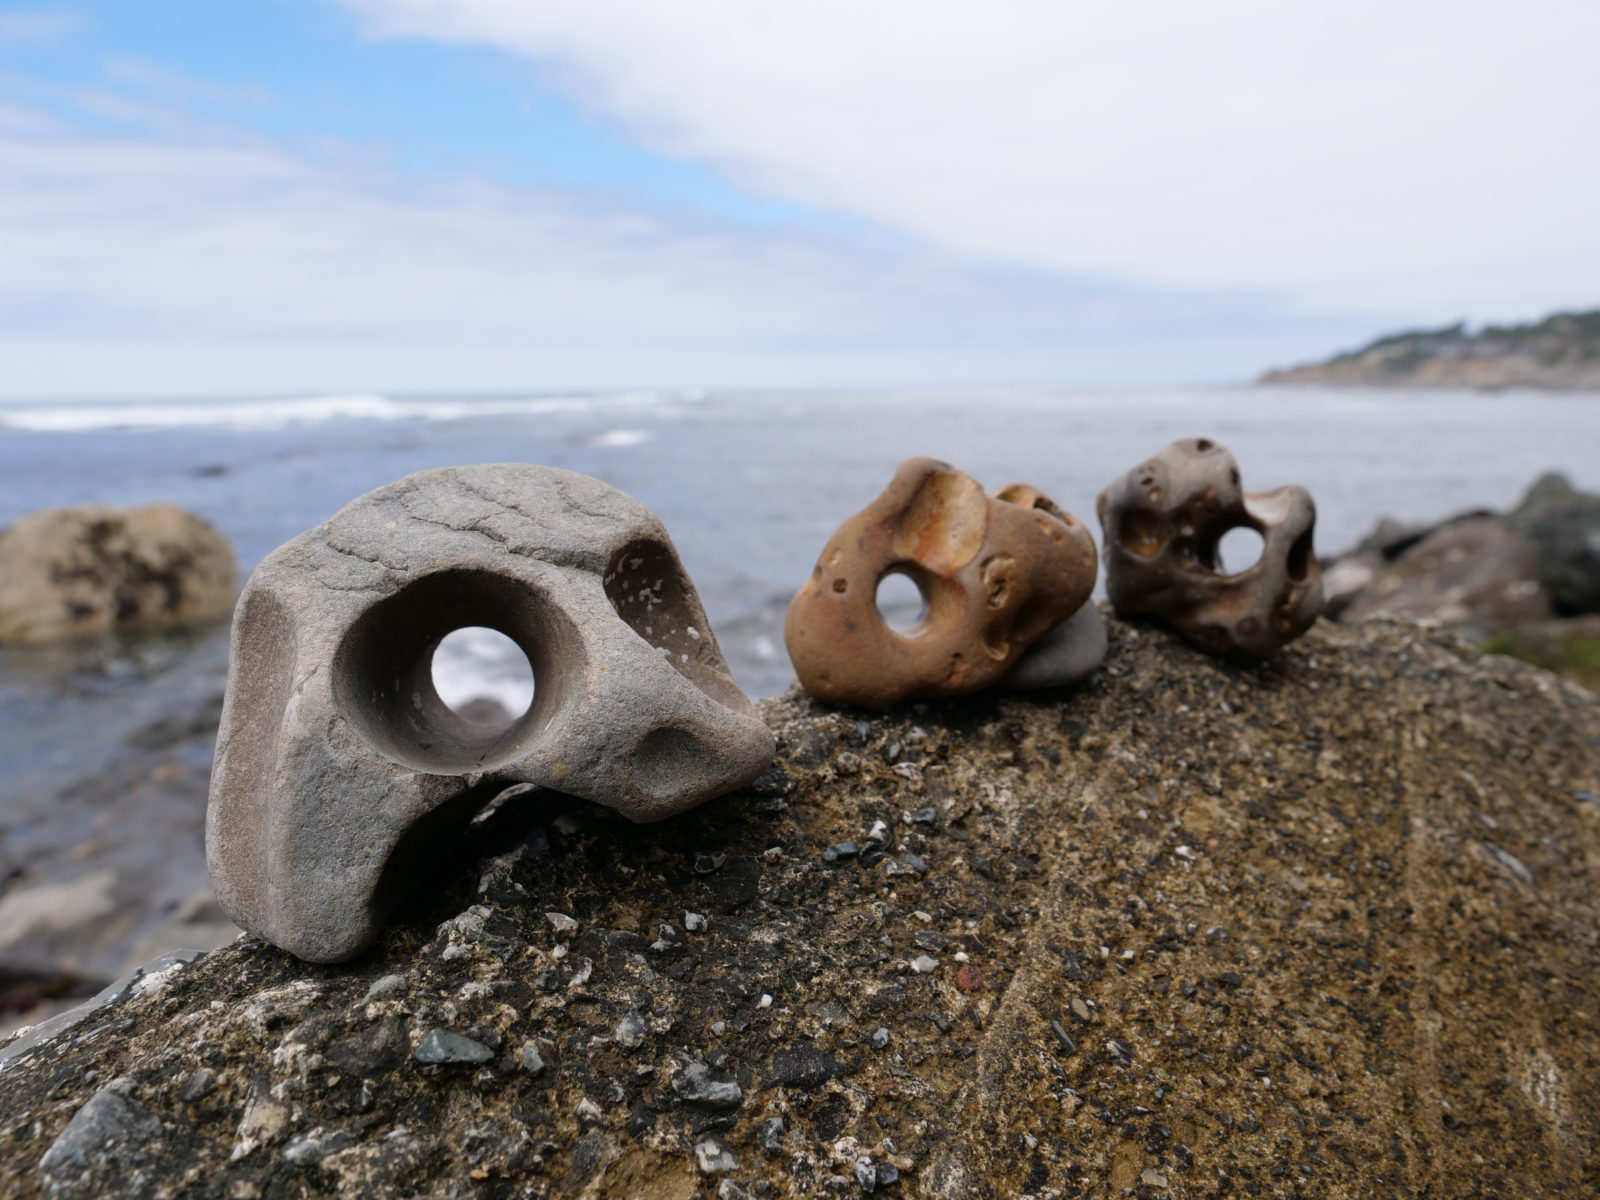
Credit: baynature.org
Frequently Asked Questions
How To Drill A Hole In A Rock Without Breaking It?
Use a diamond-tipped drill bit for precision. Secure the rock firmly to prevent movement. Start drilling at a low speed, applying gentle pressure. Keep the drill bit cool with water to avoid heat damage. Gradually increase speed until the desired depth is achieved.
What Is The Best Drill Bit For Drilling Into Rocks?
The best drill bit for rocks is a carbide-tipped masonry drill bit. It offers durability and effectiveness. Choose a rotary hammer drill for optimal performance. Ensure the bit matches the drill type for efficient rock penetration. Regularly check for wear to maintain drilling precision.
Can You Drill A Hole In A Rock?
Yes, you can drill a hole in a rock. Use a masonry drill bit and a hammer drill for best results. Ensure the drill bit is suitable for the rock’s hardness. Apply steady pressure and keep the drill cool with water.
Always wear protective gear while drilling.
Can You Drill Into Rock With A Regular Drill?
Drilling into rock with a regular drill is challenging. Use a hammer drill and carbide-tipped masonry bits for better results. Regular drills lack the power and durability for hard rock surfaces. Ensure you apply steady pressure and wear safety gear.
Conclusion
Drilling a hole in rock seems tough, but it’s doable. Start by gathering the right tools. Safety gear is essential. Choose the right drill bit for the rock type. Mark the spot clearly before drilling. Use steady pressure and patience while drilling.
Always clear debris as you work. Check your progress often. Practice makes perfect, so don’t rush. With time, you’ll improve your skills. Now, you’re ready to tackle rock drilling projects confidently. Enjoy your newfound ability and take on new challenges.
Safe drilling!


