
Are you trying to figure out how to check if your electrical connections are intact? Knowing how to do a continuity test with a multimeter can save you time and headaches.
Imagine the relief of pinpointing faulty connections quickly, preventing potential hazards and ensuring your devices function flawlessly. With your trusty multimeter in hand, you can become the detective in your own electrical mystery. This guide will break down the process into simple steps, empowering you to test continuity like a pro.
Dive in to discover the secrets of effective continuity testing and make your electrical troubleshooting a breeze!
Basics Of Continuity Test
Understanding the basics of continuity testing is essential for anyone using a multimeter. This test helps ensure electrical circuits are complete. It’s a simple way to verify if a circuit is functioning correctly. By doing a continuity test, you can quickly identify breaks in wires or faulty connections. This can save time and prevent potential electrical problems.
What Is Continuity?
Continuity means a complete and unbroken path for electricity to flow. In a circuit, continuity allows current to pass through without interruption. A continuity test checks if this path exists in a circuit. If the path is complete, the multimeter shows a low resistance value or beeps. This indicates that electricity can flow freely. No beep or high resistance means there’s a break in the circuit.
Why Perform Continuity Tests?
Performing continuity tests ensures circuits are complete and functioning. It’s a quick way to identify broken wires or faulty connections. These tests help maintain safety and efficiency in electrical systems. They prevent potential failures and electrical hazards. Regular testing can also prolong the lifespan of electrical devices. It’s a simple yet effective way to ensure everything works as intended.
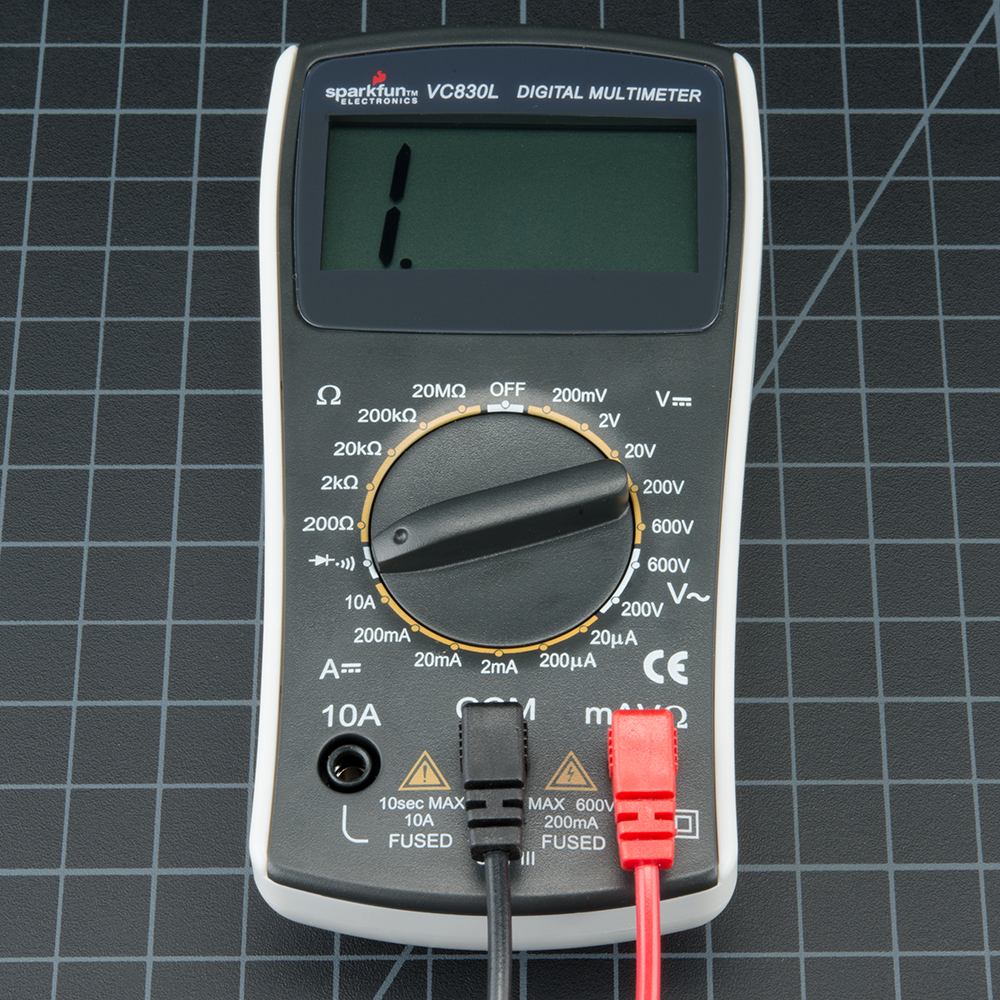
Credit: learn.sparkfun.com
Tools Required
To perform a continuity test, a digital multimeter and test leads are essential. Ensure the multimeter is set to continuity mode for accurate results.
When you’re ready to perform a continuity test with a multimeter, it’s essential to gather the right tools to ensure accuracy and efficiency. Without the proper equipment, you might find yourself fumbling through the process, which can lead to frustration or incorrect readings. Let’s dive into the essential tools you’ll need to make your continuity testing experience smooth and successful.Choosing The Right Multimeter
The multimeter is the star of the show. Not all multimeters are created equal, so choosing the right one can make all the difference. Opt for a digital multimeter for ease of reading and precision. A model with a dedicated continuity test function is ideal. If you’ve ever used a multimeter with hard-to-read displays, you’ll appreciate the clarity of a digital screen. Look for one with a good backlight to help in dimly lit areas.Additional Equipment
Apart from the multimeter, you’ll need a few more items. Test leads are crucial, as they connect your multimeter to the circuit. Make sure they’re in good condition; frayed wires can lead to inaccurate results. Consider having alligator clips on hand. They can free up your hands by securing the test leads to the circuit. This is particularly useful if you’ve ever tried to juggle multiple tools at once. A small screwdriver set might also come in handy. Sometimes, you need to open up a device to access the circuit you’re testing. A flashlight can be a lifesaver in dark spaces. Remember, the tools you choose can impact your testing experience. Have you ever had to stop mid-test because you didn’t have the right gear? Preparing with the right equipment not only saves time but also boosts your confidence as you work.Preparing For The Test
Begin by setting your multimeter to the continuity test mode. Touch the probes to the circuit’s ends to check for a complete path. A beep or reading on the screen indicates continuity, confirming the circuit is intact.
Preparing for the Test Getting ready to perform a continuity test with a multimeter is a straightforward process, but it requires attention to detail and safety. Ensuring your equipment and environment are prepared can make all the difference in obtaining accurate results. Let’s dive into how you can set up your multimeter and ensure your safety.Safety Precautions
Before you start, always prioritize safety. Make sure the device or circuit you are testing is powered off and unplugged. This prevents any unexpected electrical shocks or damage to your multimeter. Wear rubber gloves and shoes, especially if you are working in a potentially damp environment. This added layer of protection can reduce the risk of electric shock. Remember, a small oversight can lead to big problems, so don’t skip these steps.Setting Up The Multimeter
Setting up your multimeter correctly is crucial for an accurate test. Begin by turning the multimeter dial to the continuity test mode, usually indicated by a diode symbol or a sound wave icon. If you’re unsure, the user manual is your best friend. Connect the black probe to the common (COM) port and the red probe to the port labeled for volts or ohms. This standard setup is essential for nearly all multimeter tests, including continuity. It’s like setting the stage for a play—you can’t start without the right props in place. Test the multimeter by touching the probe tips together; you should hear a beep. This sound confirms that your multimeter is working properly. If there’s no beep, it might be time to check the battery or connections. Have you ever found yourself unsure about a test result? Double-checking your setup can often reveal simple mistakes that are easily fixed. This proactive approach can save you both time and frustration. When you’re ready, and your multimeter is set up, you’re all set to proceed with confidence.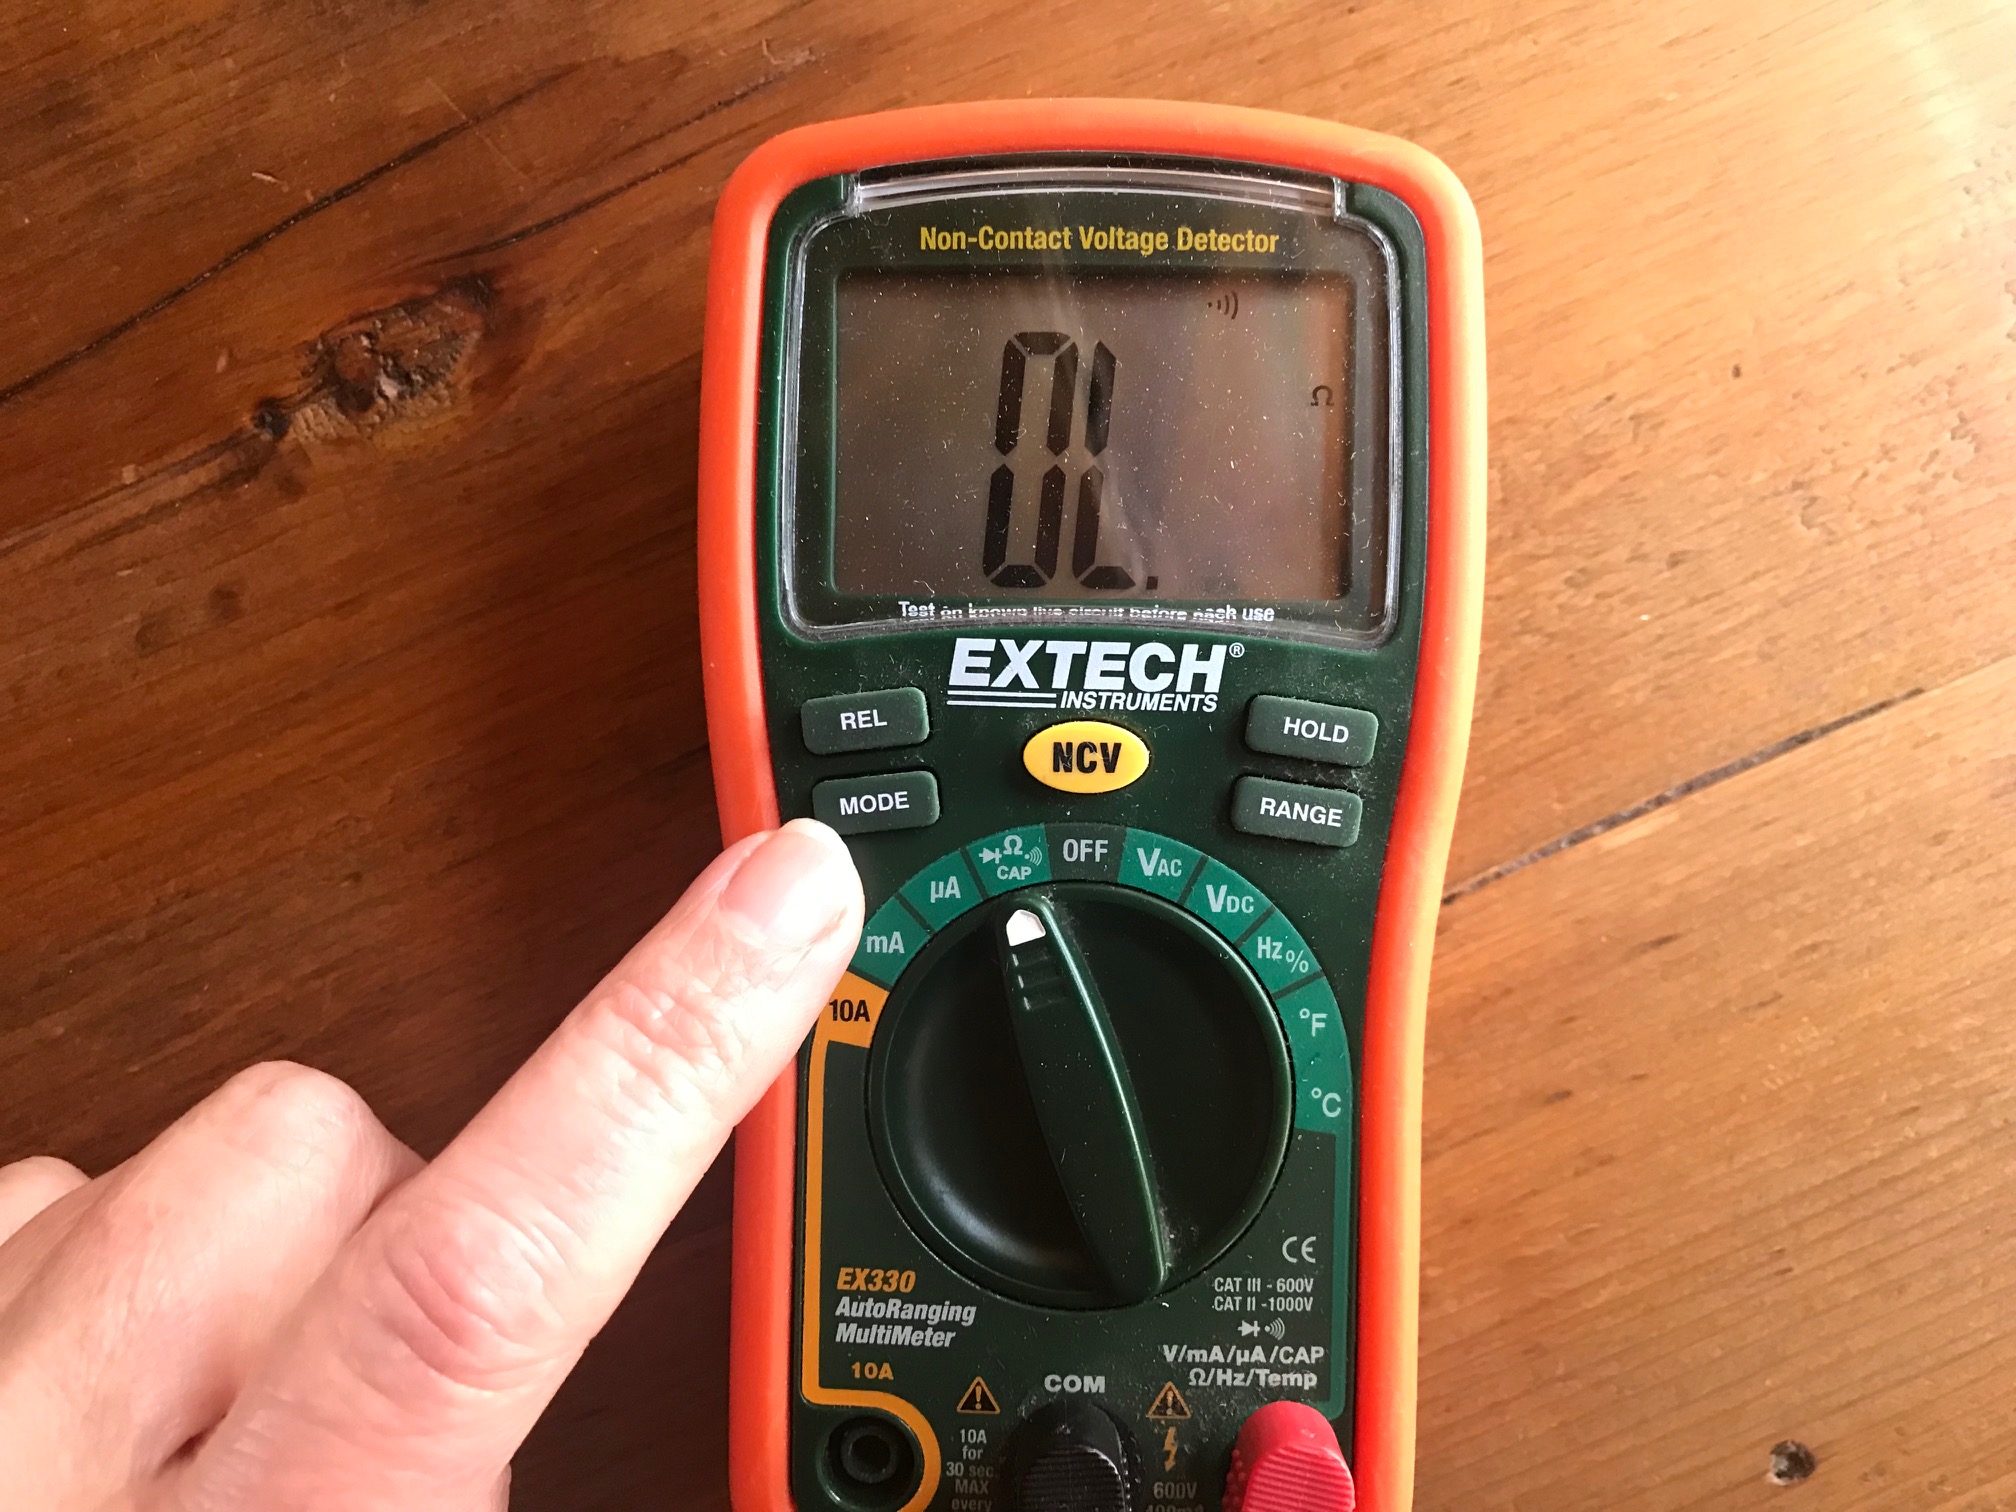
Credit: chibitronics.com
Conducting The Continuity Test
Conducting a continuity test with a multimeter is essential for checking electrical circuits. This test helps find breaks in wires, ensuring they conduct electricity. A multimeter checks if electricity can flow through a path or not.
Follow these simple steps to conduct a continuity test.
Connecting The Probes
First, set your multimeter to the continuity setting. This is often marked with a sound wave symbol. Next, insert the black probe into the COM port. Place the red probe in the VΩ port. Make sure the probes are securely connected.
Hold the probes against the two ends of the wire or circuit. Ensure you hold the probes firmly to get accurate readings.
Interpreting Results
Listen for a beep from the multimeter. A beep indicates continuity. This means electricity can flow, and the wire is intact. No beep means there is a break in the circuit.
Check the multimeter display too. A low resistance reading confirms continuity. A high reading or ‘OL’ shows a break or open circuit.
Repeat the test on different points to ensure accuracy.
Common Mistakes To Avoid
Mistakes often occur when performing a continuity test with a multimeter. Forgetting to turn off the power source can lead to inaccurate results. Another common error is using the wrong multimeter setting, which can cause confusion and incorrect readings.
Understanding how to perform a continuity test with a multimeter is crucial for anyone dealing with electrical components. However, even seasoned professionals can make mistakes that lead to inaccurate readings or even damage to the multimeter. You might be surprised at how common these errors are. Avoiding these pitfalls ensures you get the correct results, which can save time and resources. Here are some common mistakes to steer clear of during your next continuity test.Incorrect Multimeter Settings
Setting your multimeter incorrectly is a mistake that can lead to confusion. Always double-check that you’ve set your multimeter to the continuity setting. This is usually indicated by a symbol resembling sound waves or a diode symbol. Imagine expecting a beep and getting silence. It happened to me once, and it turned out I had the multimeter set to measure voltage instead. It’s an easy mistake to make, especially if you’re rushing. So, take a moment to ensure your settings are correct.Poor Probe Connections
Another common oversight is poor probe connections. If the probes aren’t firmly connected to the component you’re testing, your readings will be unreliable. Make sure the probe tips are clean and making good contact with the metal parts of the component. Have you ever experienced a beep only to realize the probes were touching each other instead of the component? It’s frustrating and can lead to wasted time. Always check your connections before starting the test. Are you guilty of these mistakes? Remember, precision is key. By avoiding incorrect settings and ensuring proper probe connections, your continuity tests will be much more effective and accurate. What other mistakes do you think people often make?Practical Applications
Continuity tests help ensure electrical circuits work properly. They detect breaks or faults in the circuit. This makes them essential in various practical applications. Using a multimeter for continuity tests can save time and prevent hazards. Here’s how you can apply continuity testing in real-world scenarios.
Testing Electrical Circuits
Continuity tests verify if an electrical circuit is complete. To test, first, turn off the power to the circuit. Then connect the multimeter probes to the circuit’s ends. Listen for a beep sound. A beep indicates a complete circuit without breaks. This method helps confirm if wires are intact.
Electricians often test outlets, switches, and circuit boards this way. It ensures everything is connected correctly. Such testing prevents potential electrical failures.
Troubleshooting Devices
Continuity tests help identify faulty components in devices. By testing individual parts, you can find the source of the problem. For example, test a lamp’s cord if it flickers. Use the multimeter to ensure the cord is not broken.
This method is also useful for appliance repair. Check elements like fuses and connectors. A simple test can save time and money. It avoids unnecessary part replacements.
Advanced Tips
Using a multimeter for continuity testing ensures electrical circuits are intact. Begin by setting the multimeter to the continuity setting, usually indicated by a sound symbol. Connect the probes to the circuit; a beep confirms the connection is complete, signifying uninterrupted flow.
When you’re ready to delve deeper into the world of electronics, understanding the nuances of a continuity test with a multimeter can be a game-changer. Moving beyond the basics, advanced tips can help you troubleshoot complex circuits and identify potential issues before they become problematic. Whether you’re a seasoned professional or an enthusiastic hobbyist, refining your skills with these advanced techniques can make your work more efficient and precise.Using Continuity For Complex Circuits
Testing continuity in complex circuits can be a bit like solving a puzzle. Start by breaking down the circuit into smaller sections. This allows you to isolate potential problem areas without becoming overwhelmed by the entire circuit. Consider labeling wires or components as you test them. A simple label can save you time when revisiting a section and ensures you don’t repeat tests unnecessarily. Have you ever wondered if a particular segment of your circuit has a hidden fault? Using the continuity function on your multimeter, you can systematically check each section, ensuring every connection is solid and every wire intact.Understanding Limitations
While continuity testing is powerful, it’s important to know its limits. It tells you whether a connection exists, but not the quality of that connection. A connection might show continuity yet still have too high resistance to function properly in a circuit. Keep in mind that a continuity test won’t differentiate between a good connection and one that’s barely making contact. This is crucial when troubleshooting, as a circuit might still fail under load despite passing a continuity test. Have you ever relied on a continuity test only to find the circuit still doesn’t work as expected? This can happen if you don’t consider the resistance involved. Always pair your continuity tests with resistance checks to ensure accurate results. By incorporating these advanced tips into your testing routine, you enhance your ability to diagnose and fix circuit issues effectively. What strategies do you find most useful when testing complex circuits?
Credit: www.youtube.com
Frequently Asked Questions
How Do You Check For Continuity With A Multimeter?
Turn the multimeter dial to the continuity setting. Connect probes to the circuit or component. Listen for a beep indicating continuity. Ensure connections are secure for accurate readings. Always check the manual for specific instructions.
What Are The Steps Of The Continuity Test?
To perform a continuity test, turn off power, set the multimeter to continuity mode, and touch probes to the circuit’s ends. Listen for a beep indicating continuity.
What Is The Symbol For Continuity On A Multimeter?
The continuity symbol on a multimeter looks like a diode or sound wave icon. It indicates a connected circuit.
What Is Ol On A Multimeter?
OL on a multimeter means “Open Loop” or “Open Line. ” It indicates no continuity in the circuit. This occurs when resistance is too high or infinite, suggesting broken wires or disconnected components. OL ensures safety by alerting users to electrical issues.
Conclusion
A continuity test with a multimeter is simple and useful. It helps identify broken circuits quickly. Always ensure the multimeter is set correctly. Connect the probes to the circuit points. Listen for the beep to confirm continuity. Practice makes the process smoother.
Safety is crucial, so work on de-energized circuits. Familiarity with your multimeter boosts confidence. Regular testing keeps devices functioning well. A reliable multimeter is essential. Use it to maintain and troubleshoot electrical systems. Understanding continuity testing is valuable for any DIY enthusiast or professional.
Keep learning and practicing for better results.


