
Have you ever looked at a glass bottle and wondered how you could transform it into a stunning piece of art or a functional item for your home? Drilling a hole in a glass bottle might seem like a daunting task, but it’s easier than you think.
Imagine turning an ordinary bottle into a unique lamp, a charming vase, or a personalized centerpiece. The possibilities are endless, and the best part is, you can do it yourself with the right tools and techniques. By learning how to drill a hole in a glass bottle, you unlock a world of creative potential.
This guide is here to show you how to safely and efficiently achieve this, whether you’re a seasoned DIY enthusiast or just starting out. Dive in, and discover the simple steps that can lead you to your next masterpiece.
Choosing The Right Tools
Drilling a hole in a glass bottle isn’t just a task; it’s an art. Choosing the right tools can make or break your project. Imagine the frustration of cracked glass or uneven holes due to inappropriate equipment. You don’t want that, right? Selecting the proper drill and drill bits is crucial. It’s like finding the perfect brush for your masterpiece. Let’s dive into how you can make informed choices for successful drilling.
Drill Types
Not all drills are created equal, especially when it comes to delicate materials like glass. You might wonder: Can I use my regular drill? The answer is yes, but with caution. A cordless drill offers versatility and ease of handling, making it a popular choice for DIY enthusiasts. Ensure it has variable speed settings; slow and steady wins the race with glass.
If you’re serious about glass drilling, consider a drill press. It provides more control and precision, reducing the risk of breakage. Picture yourself effortlessly making perfect holes, rather than struggling with wobbly drills. Now, that’s satisfying! Remember, glass requires patience and the right touch.
Drill Bits For Glass
Your drill is only as good as the bit you use. Standard bits won’t cut it, literally. You need something designed specifically for glass. Diamond drill bits are the go-to choice. They are tough, durable, and perfect for glass. Have you ever felt the thrill of seeing your drill glide through glass like butter? That’s the magic of diamond bits.
Another option is carbide-tipped bits. They are less expensive but still effective for small projects. Just imagine the pride in creating a DIY masterpiece with minimal investment. Always start with a small pilot hole before moving to larger sizes. It makes the process smoother and reduces the risk of cracking.
Choosing the right drill bits requires a bit of homework, but it’s worth it. Ask yourself: How much time and effort are you willing to invest in your project? The answer will guide you in selecting the perfect tool for your glass drilling adventure.
Preparing The Glass Bottle
Drilling a hole in a glass bottle requires careful preparation. Proper preparation ensures safety and precision during the drilling process. The first step is to prepare the bottle, which includes cleaning it thoroughly and marking the drilling spot accurately. Let’s dive into these steps.
Cleaning The Bottle
A clean bottle is essential for smooth drilling. Begin by rinsing the bottle with warm water. Remove any labels or adhesive residues using a mild detergent. Scrub gently to avoid scratching the glass surface. Rinse again to ensure no soap remains. Dry the bottle completely with a soft cloth. This prevents the drill from slipping on a wet surface.
Marking The Drilling Spot
Decide where the hole should be on the bottle. Use a marker to make a visible dot on the glass. Ensure the spot is at least an inch away from the edges. This helps prevent cracking during drilling. For accuracy, use a ruler or tape measure. Double-check the location before proceeding to drill.
Safety Precautions
Drilling glass bottles demands cautious preparation. Ensure a clean workspace to minimize accidents. Use safety goggles and gloves to protect yourself. Secure the bottle firmly, preventing movement during drilling. Choose a diamond-tipped drill bit for precision and avoid excessive pressure to prevent cracking.
Drilling a hole in a glass bottle requires careful attention to safety. Glass, being fragile, can shatter unexpectedly, posing risks to both your project and your well-being. Understanding the necessary safety precautions can make this task not only achievable but also enjoyable. Imagine the satisfaction of successfully transforming a glass bottle into a piece of art or a unique container. To ensure your safety and the success of your project, let’s delve into some essential measures you should consider.Protective Gear
Wearing the right protective gear is crucial. You wouldn’t step onto a construction site without a helmet, so treat this task with the same seriousness. Safety glasses should be your first purchase. They shield your eyes from flying glass shards. Consider gloves that offer a good grip. You need to protect your hands without losing control over the bottle. If you’ve ever cut your hand on glass, you know how painful it can be. A dust mask is also advisable. Although glass doesn’t produce dust like wood, tiny particles can still become airborne. Protecting your lungs is as important as protecting your eyes and hands.Setting Up A Safe Workspace
Your workspace can make or break your project. Choose a stable table or workbench. You need a surface that won’t wobble or move unexpectedly. Have you ever watched a glass bottle roll off a table? It’s a heart-stopping moment you want to avoid. Ensure your workspace is well-lit. Proper lighting helps you see what you’re doing. Shadows can play tricks on your eyes, leading to mistakes. Finally, clear the area of clutter. A tidy space minimizes distractions and reduces the risk of accidents. This simple step can make all the difference. Safety isn’t just about avoiding harm; it’s about creating an environment where you feel confident and focused. Are you ready to take the plunge and start your glass drilling adventure with peace of mind?
Credit: www.instructables.com
Drilling Techniques
Drilling a hole in a glass bottle requires precision and care. First, secure the bottle with a towel to prevent slipping. Then, use a diamond drill bit with steady, gentle pressure. Keep the drill bit cool with water to avoid overheating and cracking the glass.
Drilling a hole in a glass bottle might sound challenging, but with the right techniques, it becomes an achievable task. Whether you’re crafting homemade lamps or personalized gifts, understanding the drilling process is crucial. The key is to take your time, use the right tools, and follow specific methods to prevent the glass from cracking. Let’s dive into some practical techniques that can help you drill a hole in a glass bottle successfully.Using A Drill Press
A drill press provides stability and precision, making it an ideal choice for drilling glass. Start by securing the glass bottle firmly on the drill press table, using clamps or a vise. Before you begin, ensure the drill bit is suitable for glass, often a diamond or carbide tip is recommended. Set the drill press to a low speed to reduce the risk of cracking. Apply gentle pressure and let the drill bit do the work. Keep a consistent stream of water on the drilling area to cool the glass and minimize dust. If you’ve ever tried to drill glass without water, you know how quickly things can go south.Manual Drilling Tips
Drilling by hand requires patience and a steady hand. Begin by marking the spot where you want the hole using a marker or masking tape. This helps guide the drill bit. Select a drill bit specifically designed for glass. A diamond-tipped bit is often the best choice. Secure the bottle using a towel or a rubber mat to prevent slipping. Start drilling at a low speed, applying light pressure. Don’t rush—let the drill bit slowly penetrate the glass. Periodically spray water on the drill site to keep the glass cool and reduce friction. Consider your first attempt a learning experience. You’ll likely find that slow and steady wins the race when it comes to manual drilling. Ever found yourself wondering why the glass cracks? Often, it’s the heat and pressure. Maintaining a balance is crucial. Drilling a hole in a glass bottle requires patience and the right approach. Whether using a drill press or manually, each method has its unique benefits. Which technique will you try for your next DIY project?Cooling And Lubrication
Drilling a hole in a glass bottle requires careful cooling and lubrication. This helps prevent cracks and breaks. Use water or a lubricant to keep the drill bit cool.
Drilling a hole in a glass bottle can seem daunting, but mastering the art of cooling and lubrication makes the task manageable. Keeping your drill bit and the glass cool is crucial to prevent cracks. Proper lubrication also ensures a smoother drilling process. Let’s delve into the importance of these factors.Importance Of Cooling
Cooling is not just a step; it’s a safeguard. As you drill, friction creates heat. This heat can cause the glass to expand and crack. Imagine being halfway through drilling and hearing that dreaded ‘snap’. To avoid this, consistently cool the area. Use a spray bottle with water to keep both the glass and drill bit at a safe temperature. You might ask, “How much cooling is enough?” If the glass feels warm to touch, it’s time to cool down. Remember, patience is key. Rushing can lead to costly mistakes.Types Of Lubricants
Choosing the right lubricant can be a game-changer. Water is a simple, effective choice. It’s accessible and works well for small projects. For more demanding tasks, consider a cutting oil. This oil is designed to minimize friction and wear on the drill bit. Some prefer dish soap mixed with water as it adds a slick layer, reducing resistance. Have you tried experimenting with different lubricants? Each has its own benefits. Finding what works best for your project can make all the difference. In essence, cooling and lubrication are not just technicalities; they are the pillars of a successful drilling project. Keep your tools cool and well-lubricated, and you’ll find the process much smoother. Have you encountered any unique challenges while drilling? Share your experiences below!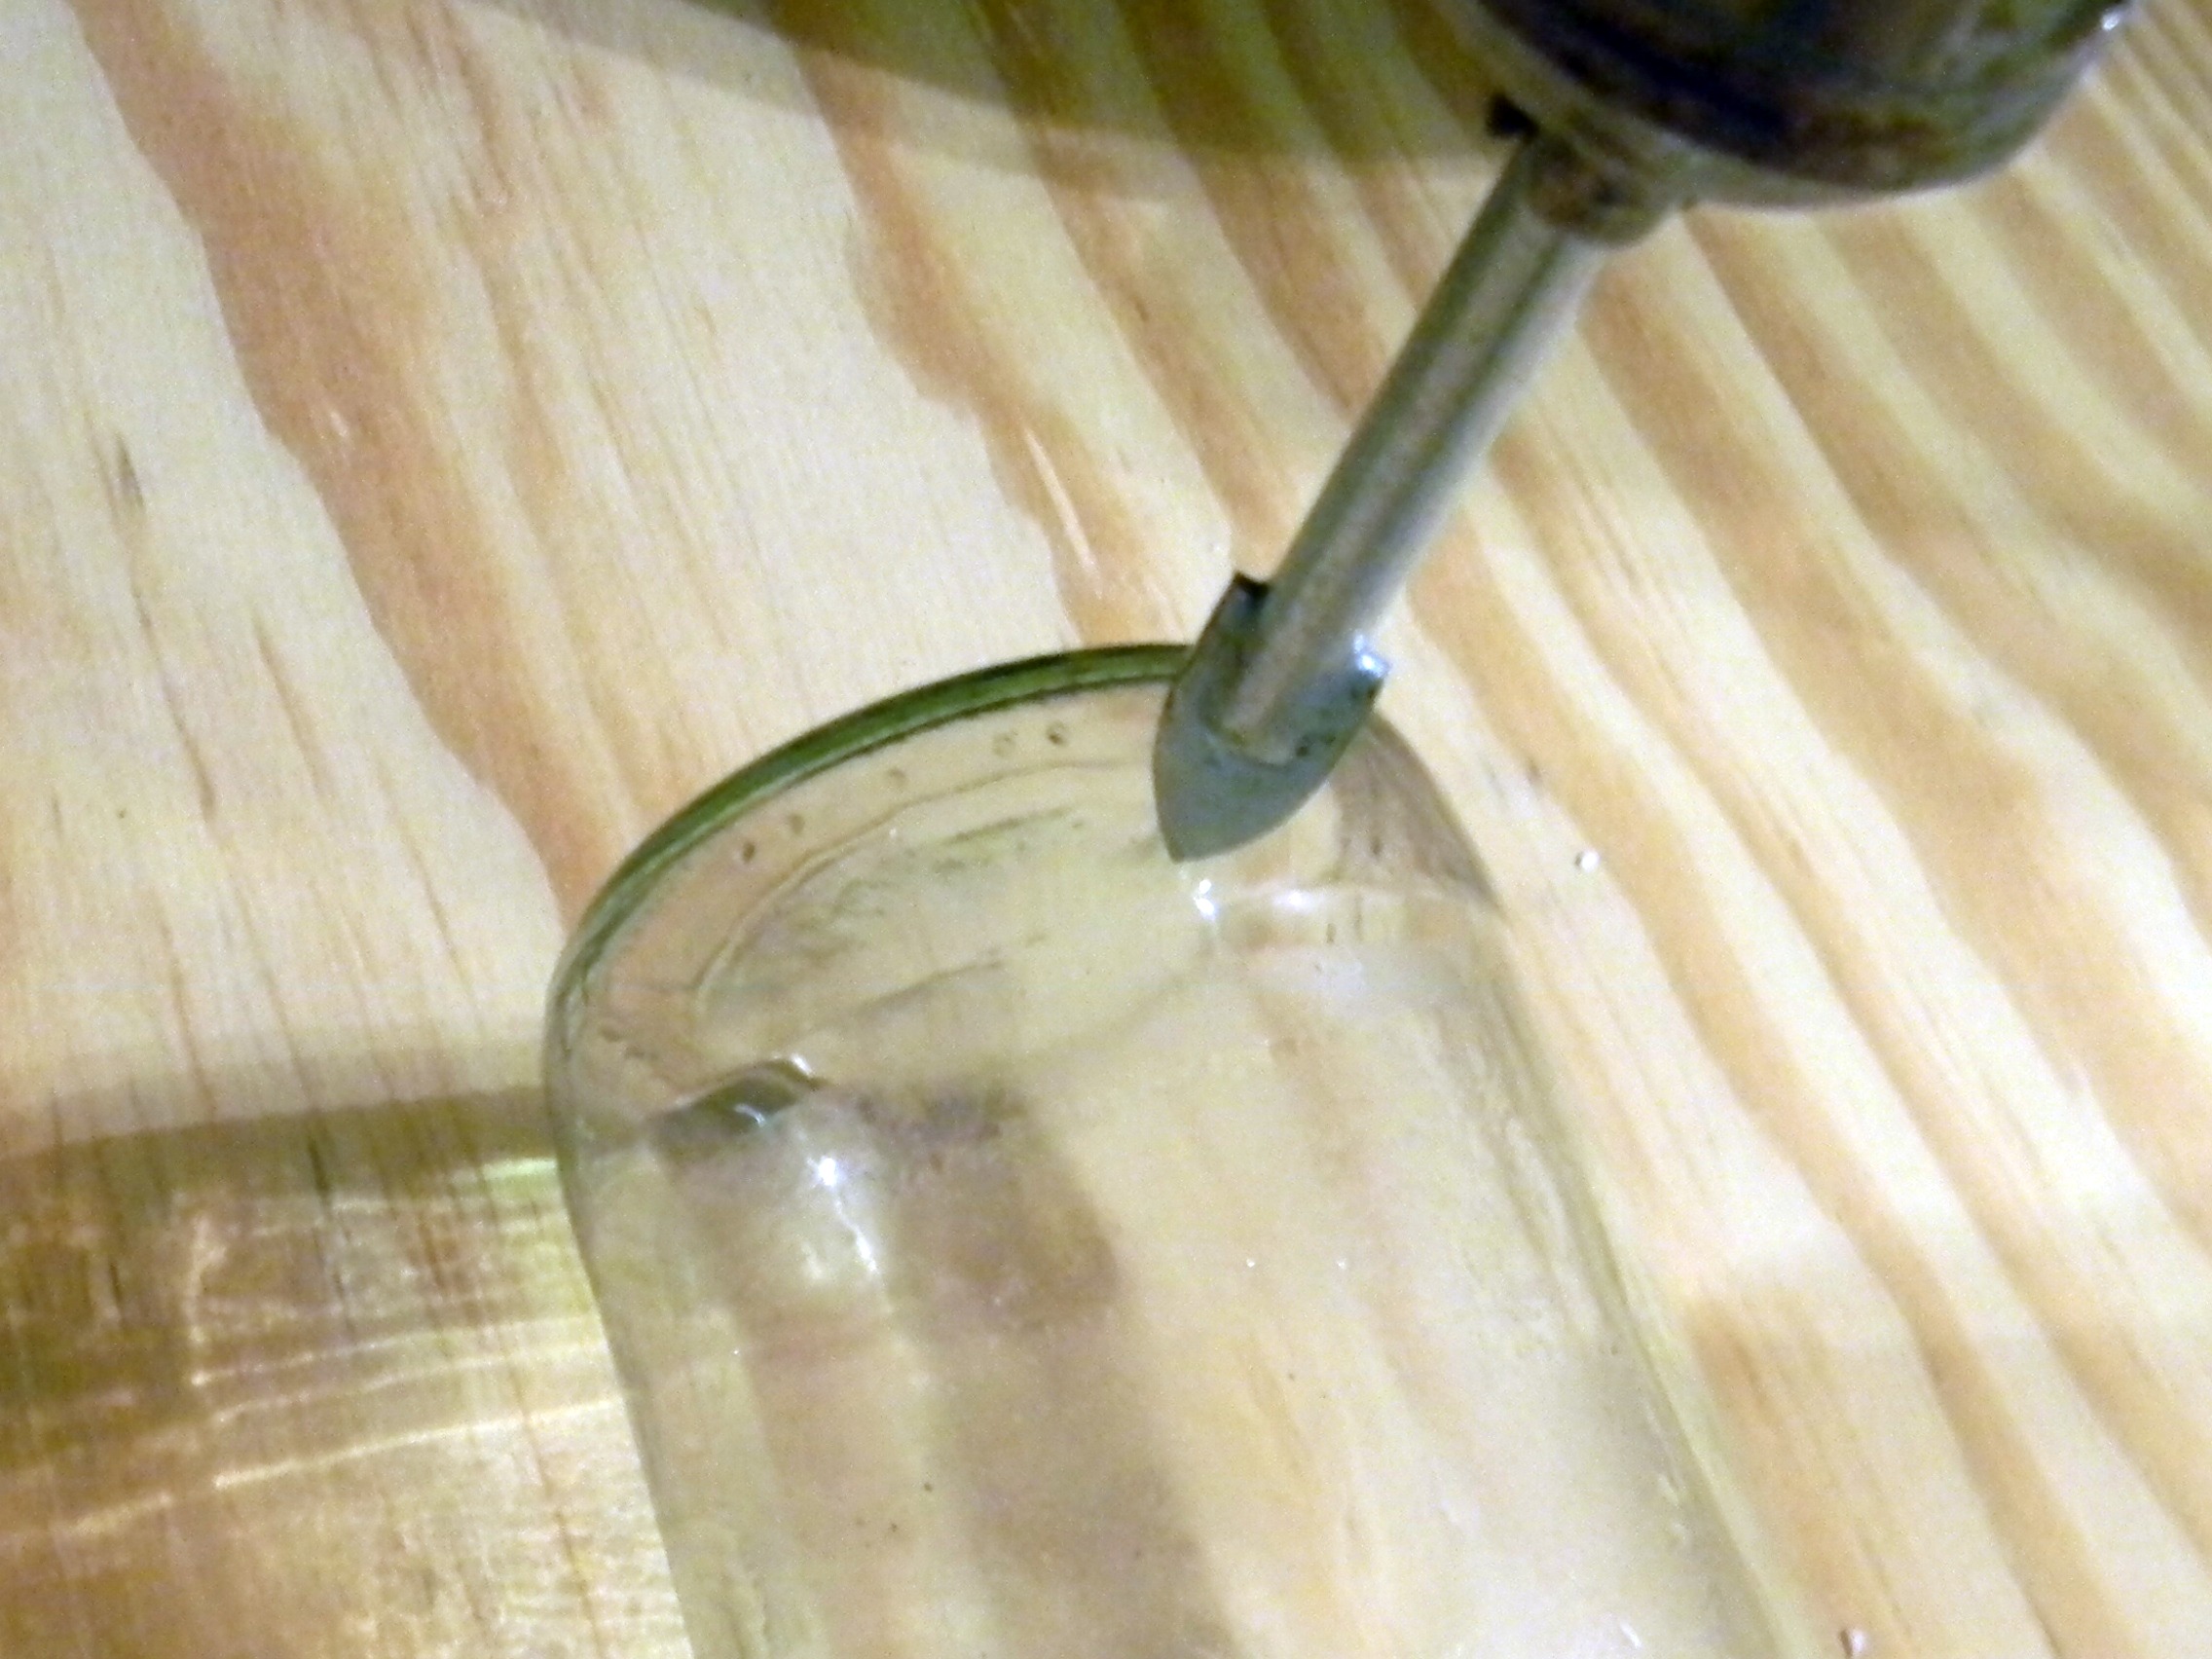
Credit: organizeyourstuffnow.com
Dealing With Breakage
Drilling a hole in a glass bottle requires patience and precision. First, secure the bottle to prevent movement. Use a diamond drill bit, applying gentle pressure while keeping the area cool with water. This method helps prevent breakage and ensures a clean hole.
Drilling a hole in a glass bottle can be a thrilling DIY project. But what happens when things don’t go as planned? Dealing with breakage is a crucial part of the process, and understanding how to prevent and handle it can save you time and frustration. Let’s dive into some practical strategies to ensure your glass bottle project is a success.Preventing Cracks
Before you start drilling, it’s essential to take measures to prevent cracks. Use masking tape over the area you intend to drill to add a layer of protection and reduce the risk of shattering. Ensure your drill bit is designed for glass, as using the wrong type can lead to unwanted cracks and breakage. Apply gentle, consistent pressure and keep the drill at a low speed to minimize stress on the bottle. Cooling the drill bit with water can also help, as it reduces heat buildup which can cause glass to crack. Have you ever considered how simple steps like these can make a big difference in your DIY endeavors?What To Do If It Breaks
Even with precautions, breakage can occur. If your bottle cracks, don’t panic. Assess the damage: if it’s minor, you might be able to continue with a slower, more careful approach. For significant breaks, it’s wise to stop and rethink. Safety comes first—ensure you’re wearing gloves and eye protection to avoid injury from sharp edges. Consider using the broken pieces creatively. Broken glass can be upcycled into mosaic art or garden decorations. Who knew a mishap could lead to a new creative project? Remember, each DIY project is a learning experience. If your first attempt ends in breakage, evaluate what went wrong and try again. How can you adjust your technique for better results next time? Your persistence and creativity can turn challenges into unexpected successes.Finishing Touches
Drilling a hole in a glass bottle requires careful technique and proper tools. Start with a diamond drill bit and keep the glass wet to prevent cracks. Apply gentle pressure and patience for a smooth finish.
When you’ve successfully drilled a hole in your glass bottle, it’s essential to focus on the finishing touches. This step not only ensures your project looks polished but also guarantees safety. After all, a beautifully drilled bottle with sharp edges can quickly turn from a triumph to a hazard. How do you ensure your bottle is both safe and stylish? Let’s delve into the final steps of smoothing and cleaning.Smoothing The Edges
Once you’ve drilled the hole, the edges might be sharp and uneven. To smooth them, use sandpaper or a diamond file. Gently rub around the edges in a circular motion, applying light pressure. Wear gloves to protect your hands from accidental cuts. A simple yet effective tool, like a rotary tool with a grinding bit, can make this task easier. Remember, patience pays off. Take your time to ensure every edge feels smooth to the touch.Cleaning The Drilled Bottle
After smoothing, it’s time to clean your bottle. Small glass particles might still be inside, posing a risk. Rinse the bottle thoroughly with warm water to remove these fragments. Use a soft brush to clean around the hole. This helps in dislodging any stubborn glass dust. For a sparkling finish, consider using a bit of dish soap. Swirl it around with water and rinse until the bottle is squeaky clean. As you wrap up, admire your handiwork and think about the possibilities. Perhaps this bottle could be transformed into a unique vase or a quirky lamp. How will you use your new creation?
Credit: www.youtube.com
Frequently Asked Questions
What Kind Of Drill Bit Do I Need To Drill Through A Glass Bottle?
Use a diamond drill bit to drill through a glass bottle. It ensures clean, precise holes without cracking. Keep the drill speed slow and apply gentle pressure. Lubricate with water to minimize heat and friction. Always wear safety goggles to protect your eyes during drilling.
How To Make A Hole In A Glass Bottle At Home?
Use a cordless drill with a diamond drill bit. Mark the spot with a marker, secure the bottle, and drill slowly while applying water for lubrication. Wear safety goggles and gloves.
Can You Drill Glass With A Regular Drill Bit?
No, you cannot drill glass with a regular drill bit. Use a special glass or tile drill bit. Regular bits can cause the glass to crack or shatter. Always drill slowly and use lubrication to prevent overheating.
What Is The Best Drill Bit For Glass?
The best drill bit for glass is a diamond-tipped or carbide-tipped bit. These bits ensure precision and prevent cracking. Always use water as a lubricant to reduce heat and pressure. Suitable for mirrors, glass tiles, and bottles. Opt for a variable-speed drill for controlled performance.
Conclusion
Drilling a hole in a glass bottle needs care and patience. Start by gathering the right tools, like a diamond drill bit. Always wear safety gear to protect yourself. Remember to keep the bottle stable while drilling. Use water to cool the drill bit and reduce dust.
Take your time and apply gentle pressure. Success comes with practice and patience. Now you can create beautiful crafts with drilled glass bottles. Enjoy your creative projects safely and confidently.


